FOUN 110: Lyrical Impressions & In the Round
Lyrical Impressions — "The Vortex of the Time"
Step 1 — Chosen Lyric & Mind Map
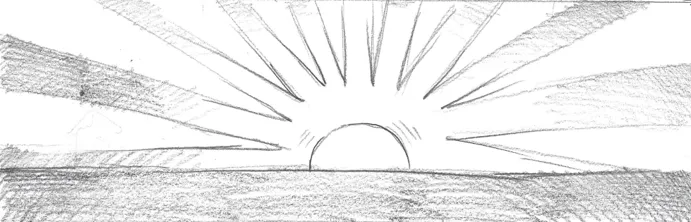
Lyric: Waiting, waiting for the sun Music: "Waiting for the Sun" — Rimworld OST Vol 2
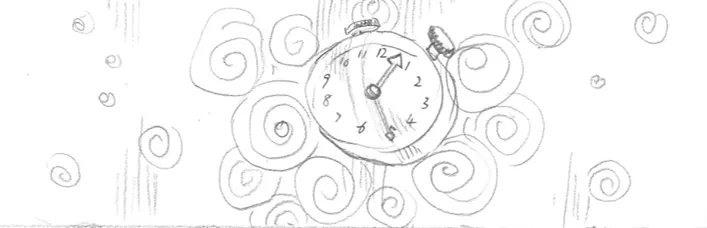
Step 2 — Thumbnail Sketches
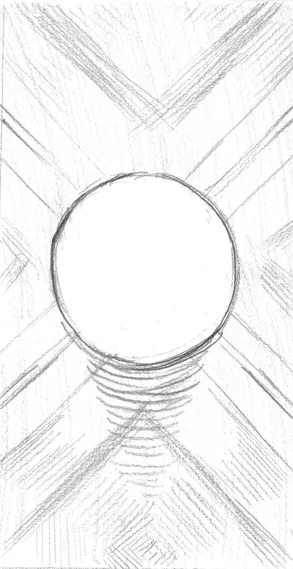
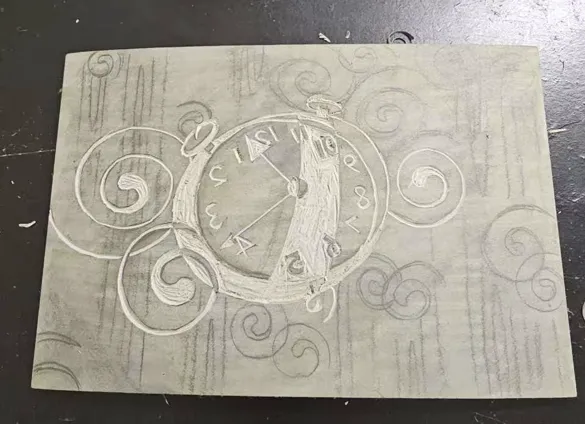
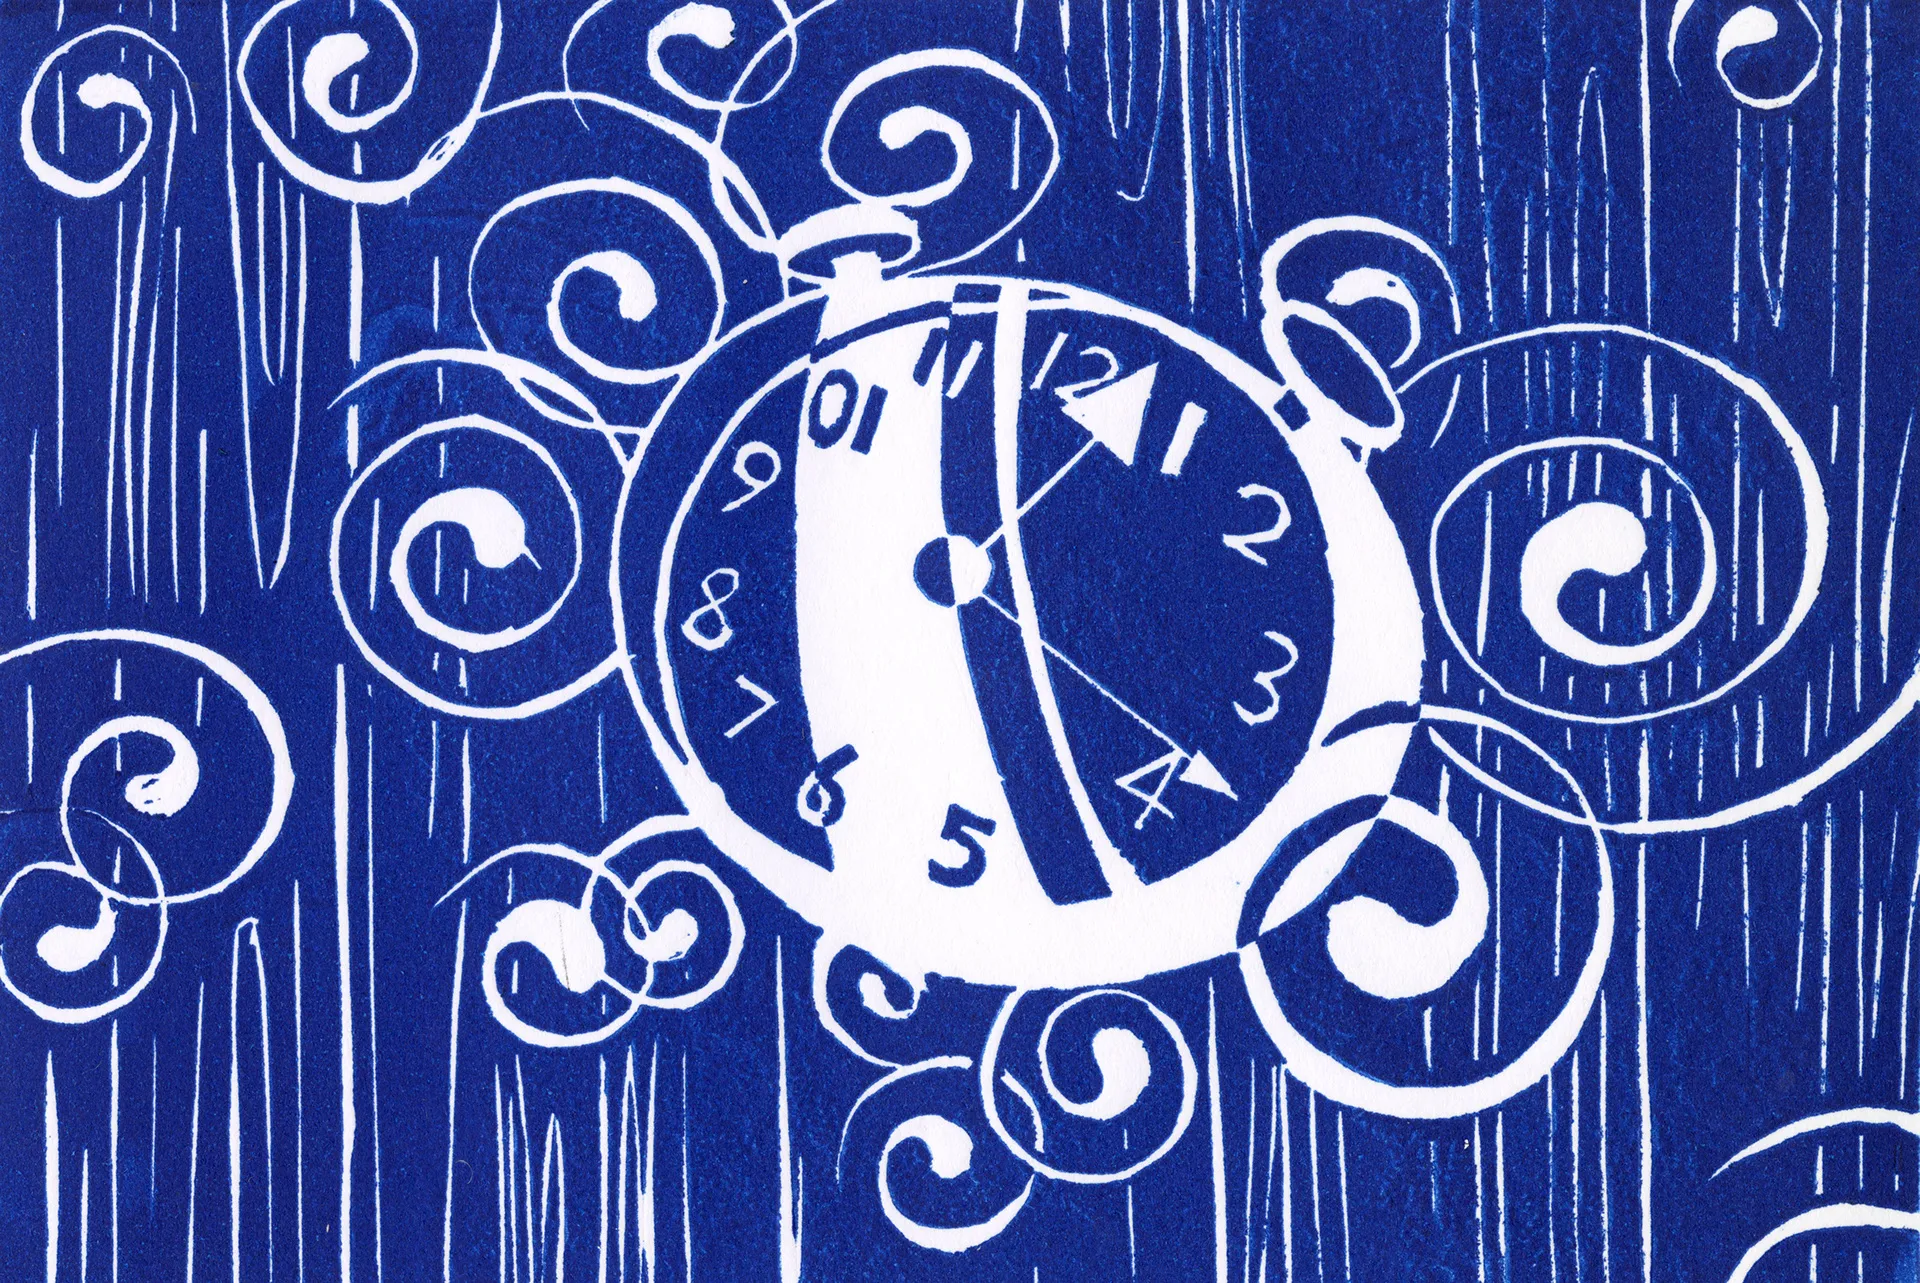
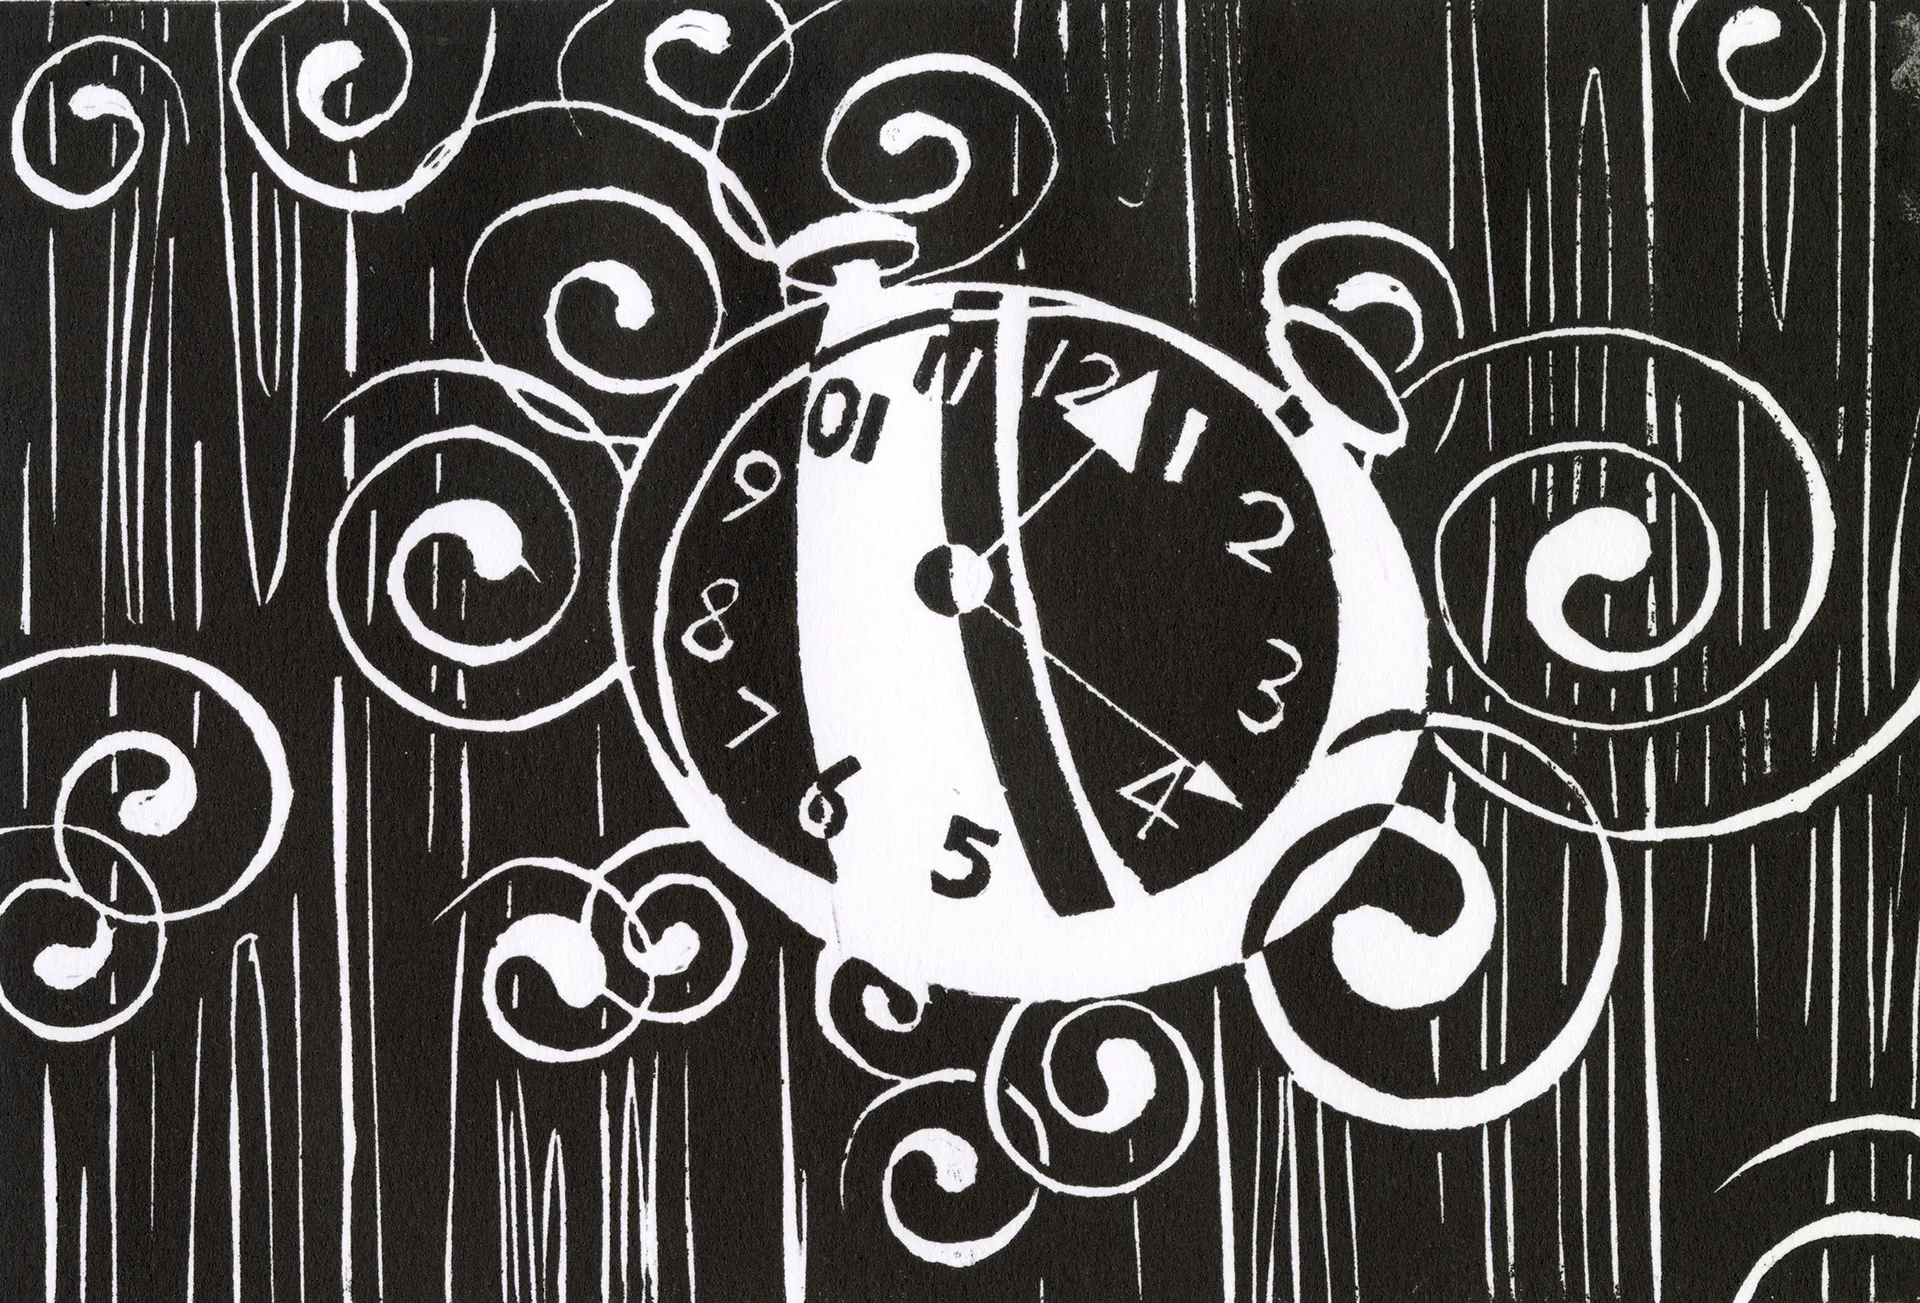
Step 4 — Best Engraving

Step 5 — Process Photographs
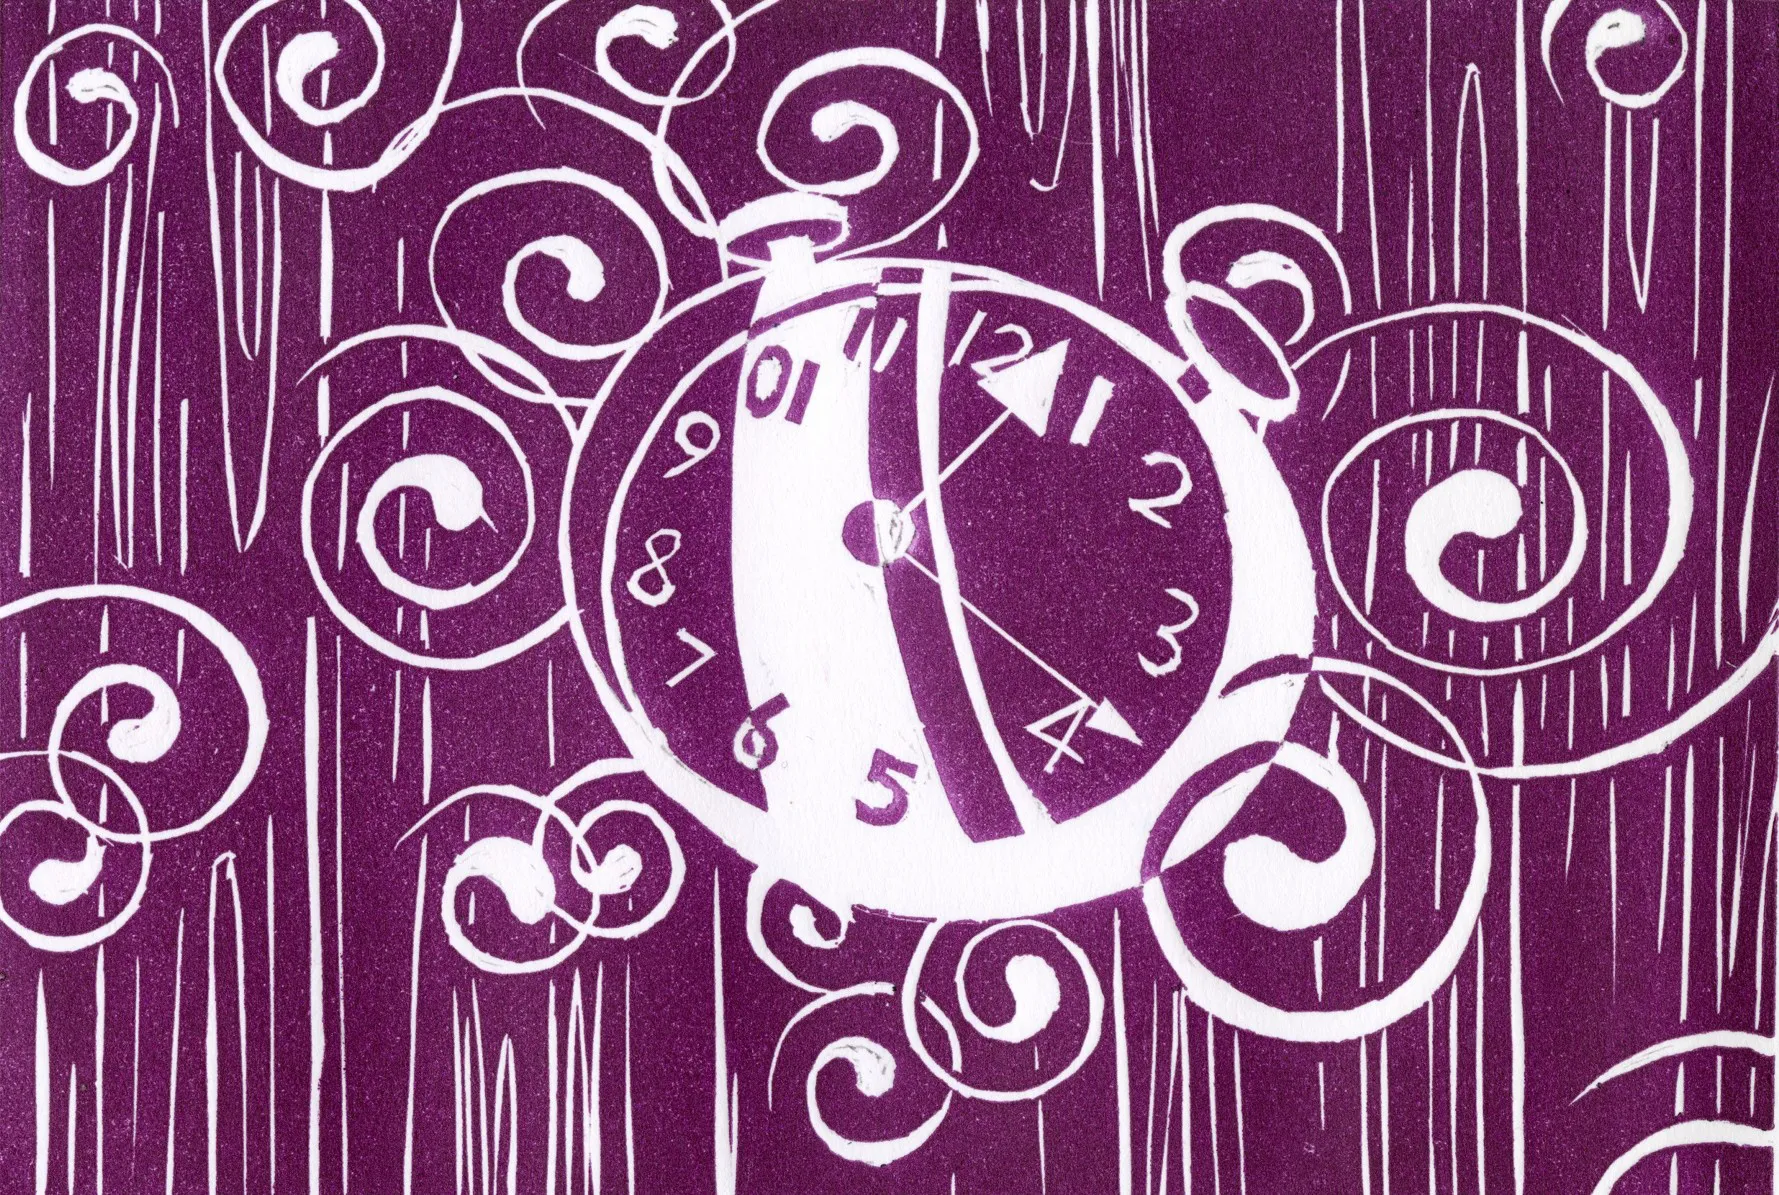
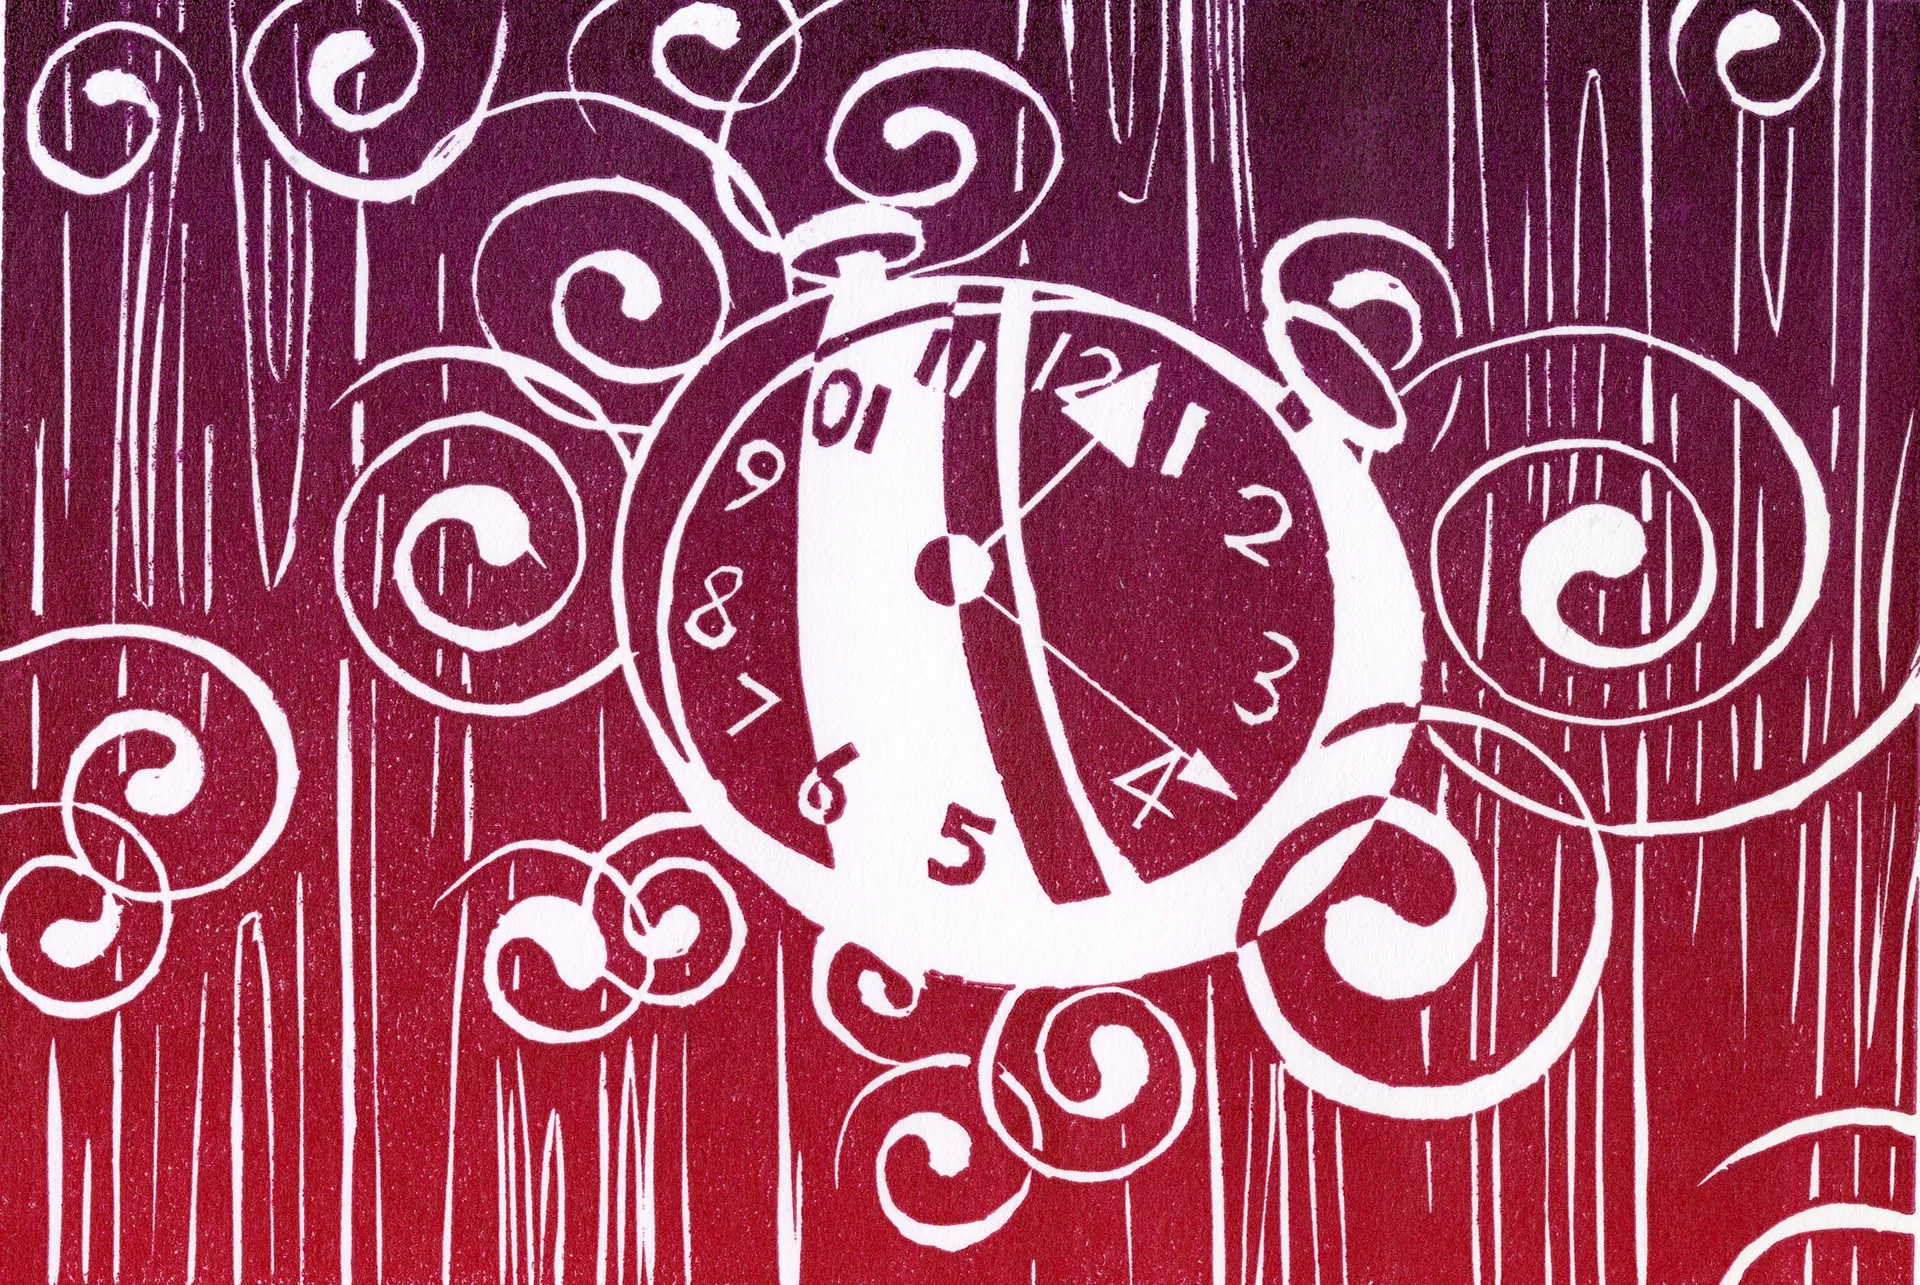
Step 6 — Adobe Color Palette

Step 7 — Vector Image

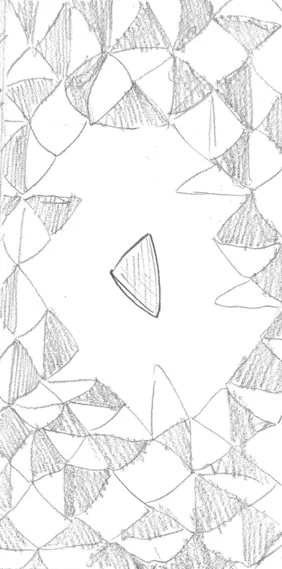
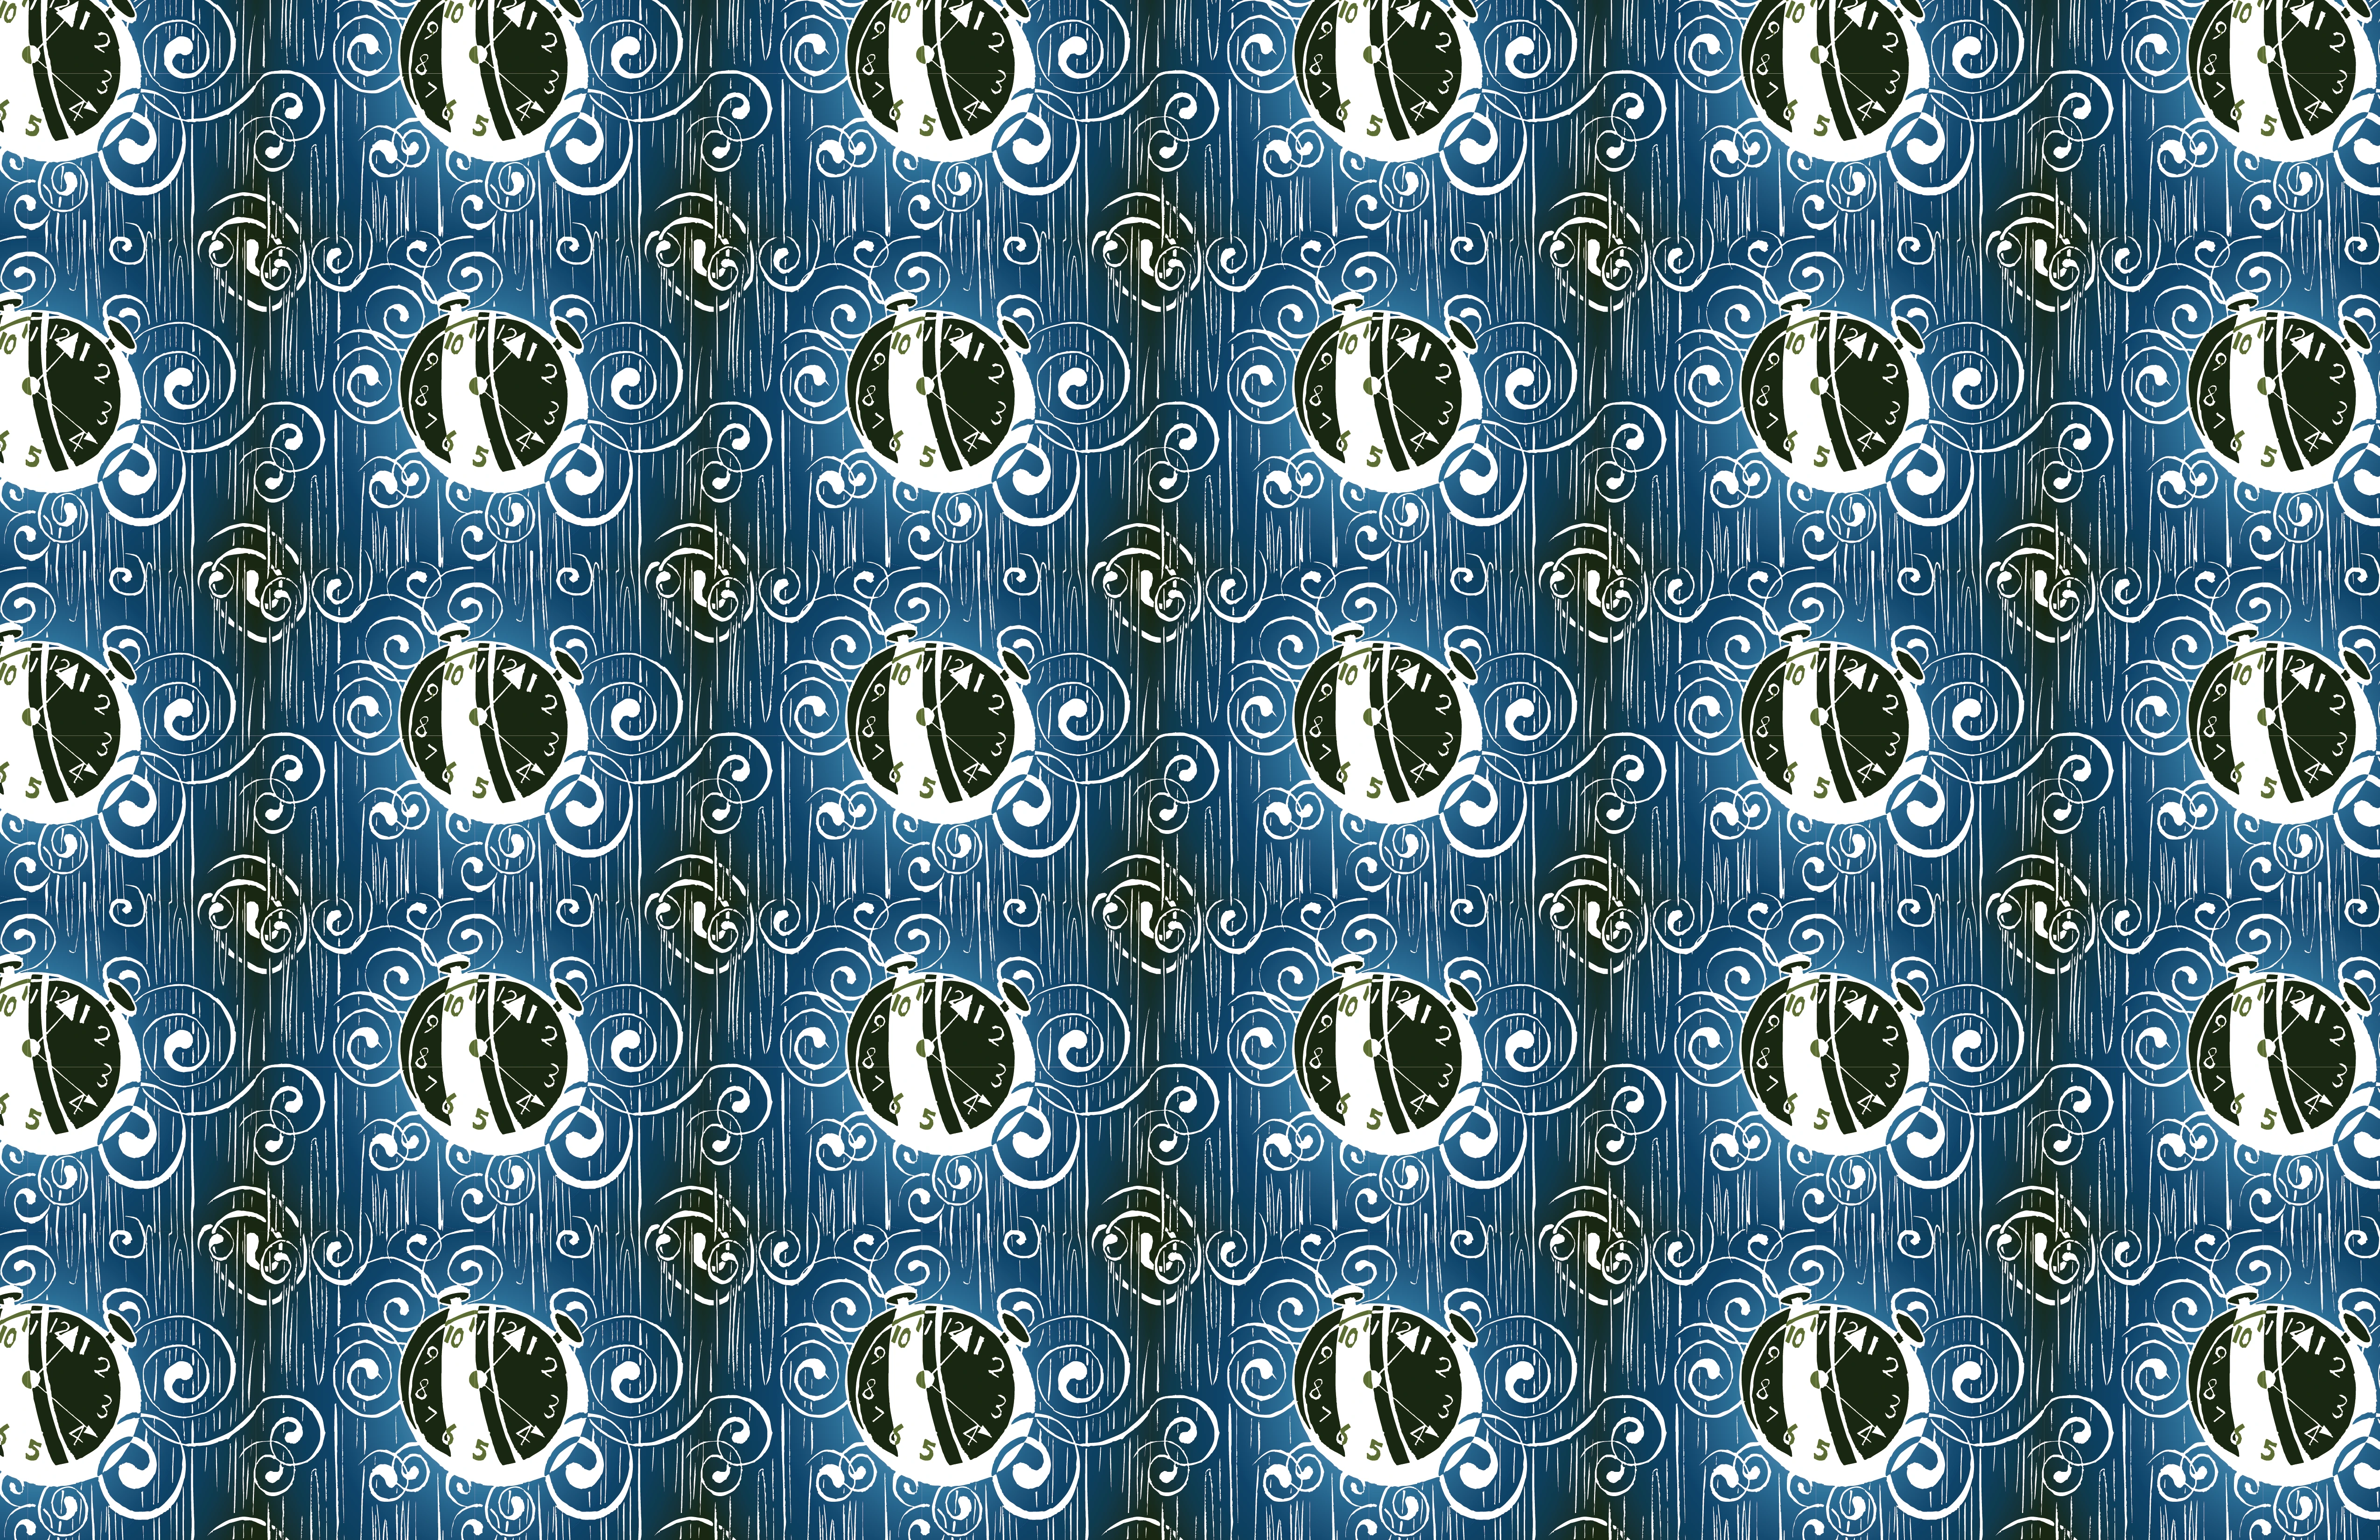
Step 8 — Repeated Seamless Pattern
Step 9 — AI Animation Prompts
Subject: The video showcases a central clock with hands that rotate logically clockwise. The hour hand exhibits a subtle, wavering vertical movement. The reflections on the clock face are dynamic, suggesting shifting light conditions.
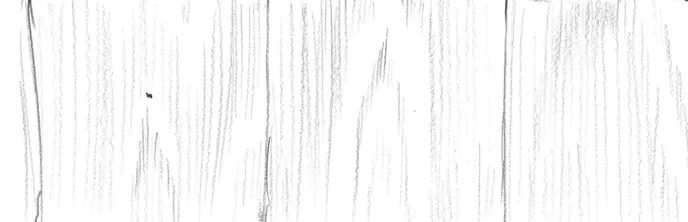
Environment: The scene is presented with a high-contrast, minimalist woodcut design. The wood grain in the background surges energetically, reminiscent of a river of oil paint, incorporating the fluid, swirling brushstrokes of Van Gogh's The Starry Night.
Step 10 — Written Reflection
Preparation
I chose the song "Waiting for the Sun" from the RimWorld OST. The repetitive lyrics convey a sense of isolation, cycles, and fatalism. To visualize this flow, I used a vortex inspired by the swirling sky in Van Gogh's The Starry Night. For the colors, I used blue to represent the universe and beige for the sunlight.
Relief Printing and Vector Illustration
When working on the relief print, I used the woodcut texture to express the movement of the vortex and the emotions from the music. I then transitioned to the vector image, where I refined the edges and details from the carving. These adjustments ensure that the graphics fit together perfectly at the edges to create a seamless design when converted into a pattern.
Use of Gestalt Principles
In this project, I applied several Gestalt principles to achieve visual unity. I used Continuity and Continuation through the vortex lines to create a feeling of time. By aligning the graphics into a seamless pattern, I utilized Proximity and Closure, ensuring the individual elements function together as a unified, repeating visual system.
Project 3: In the Round — "Grow Spiky Polyhedron"
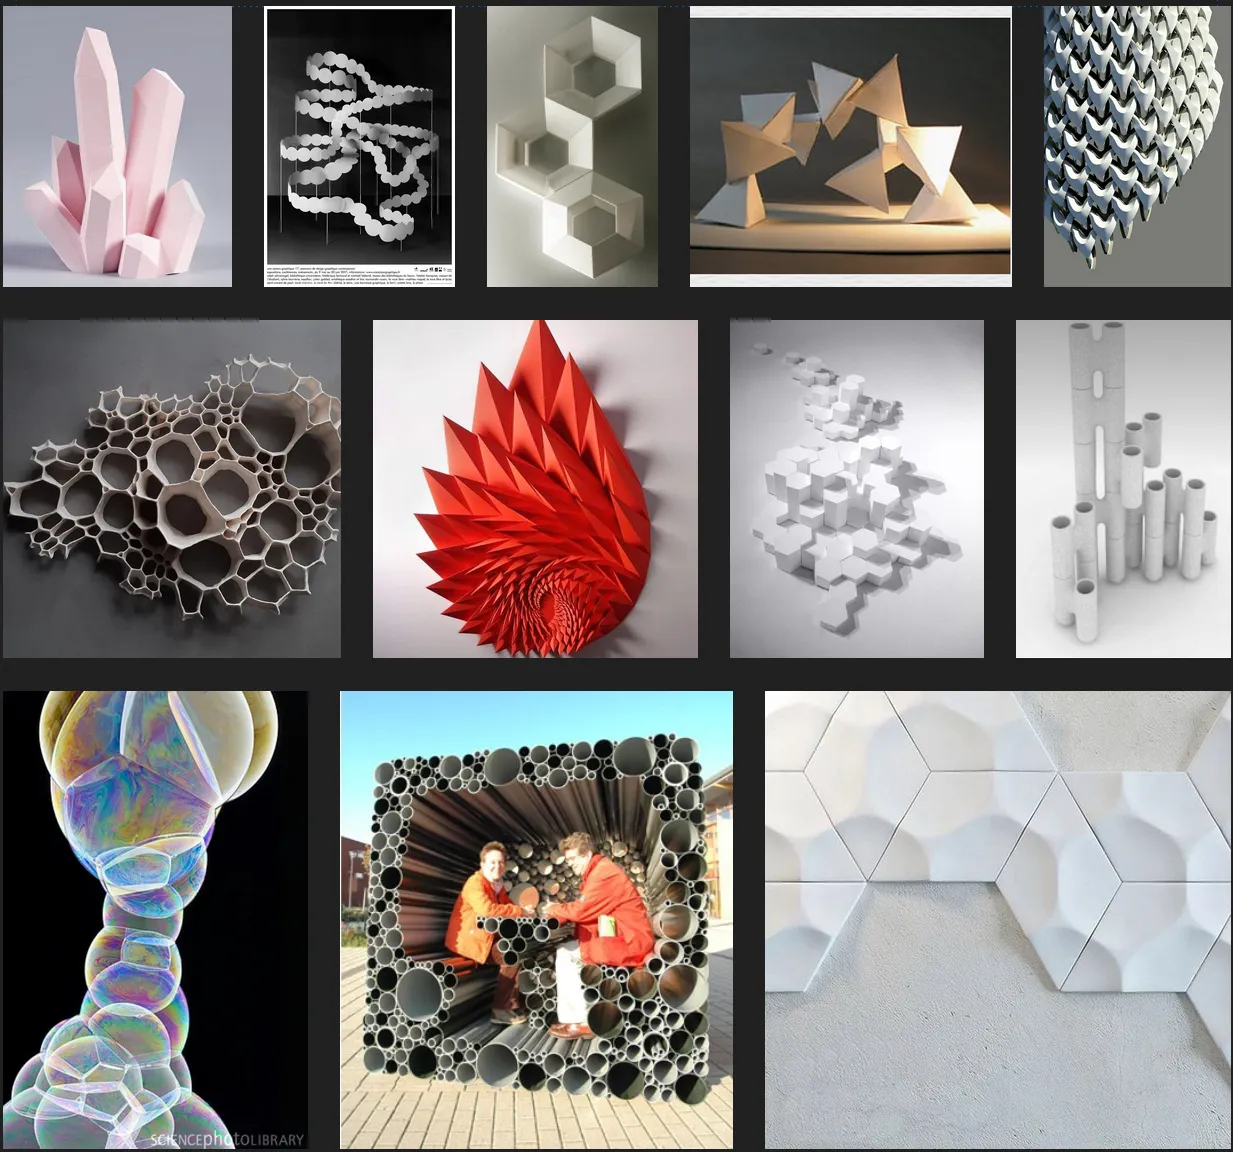
Step 1 — Research
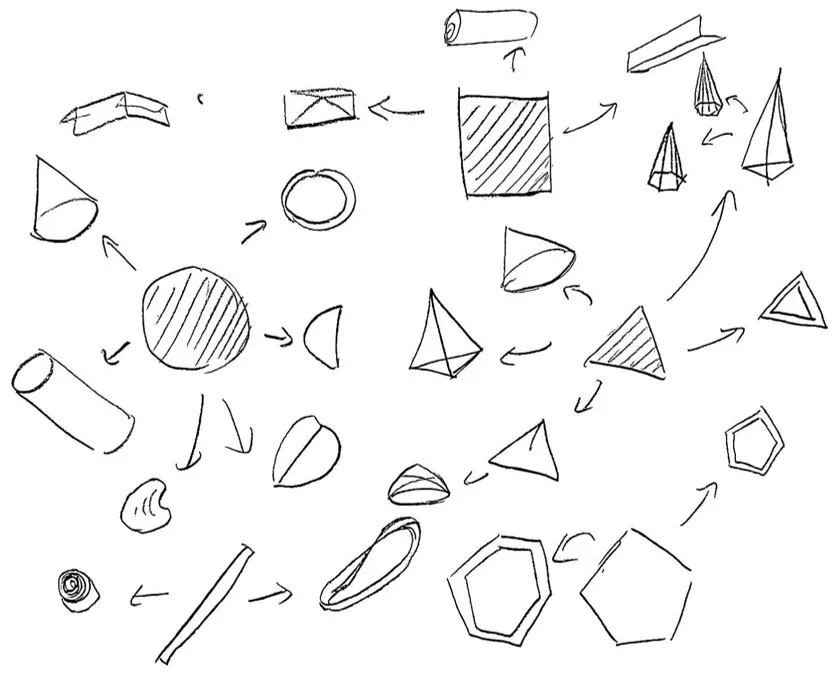
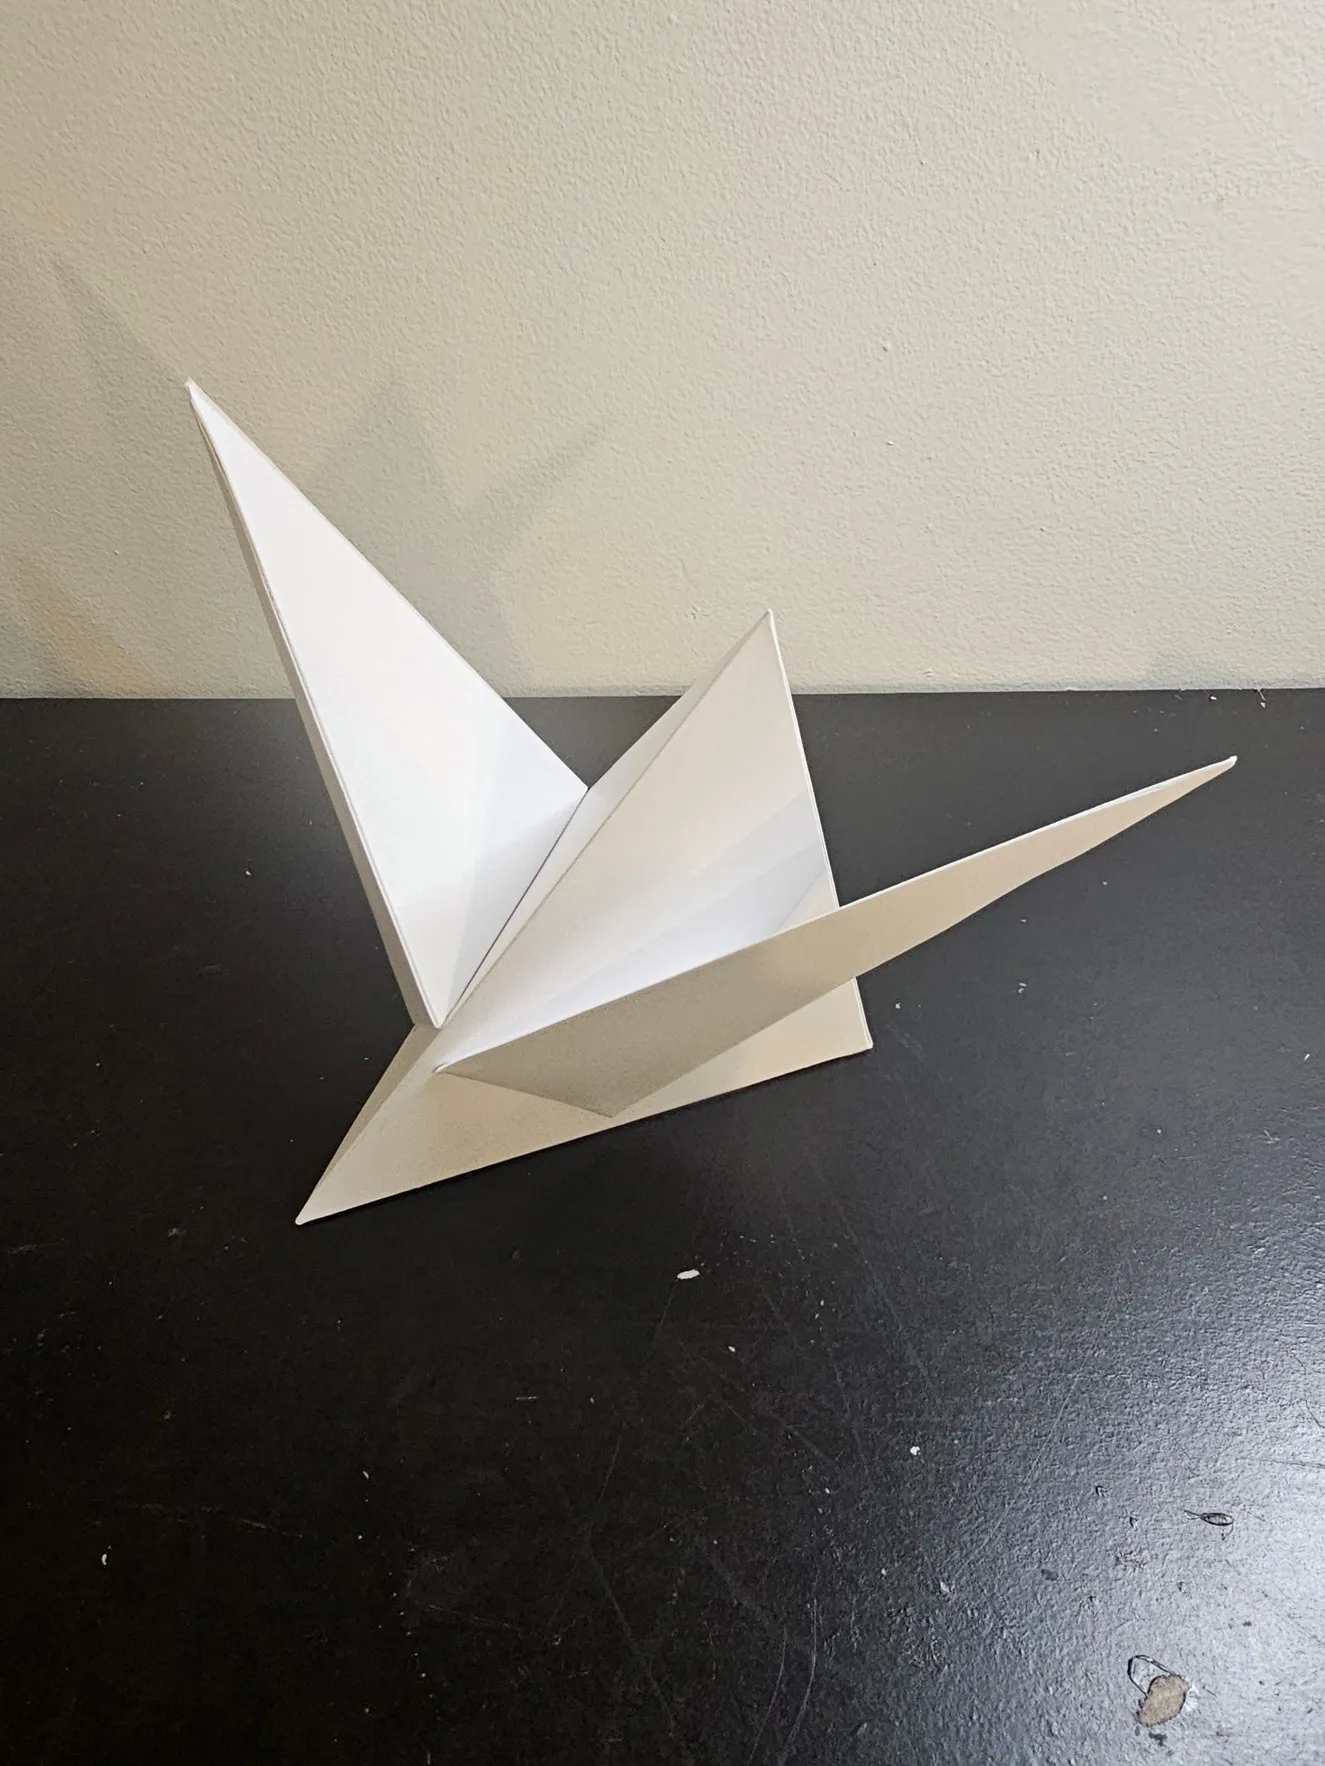
Step 2 — Basic Shape Design
This was my first attempt but abandoned because it's hard to make and difficult to build the base. Still, it's a creative idea as the sharpness changes by the fold size.
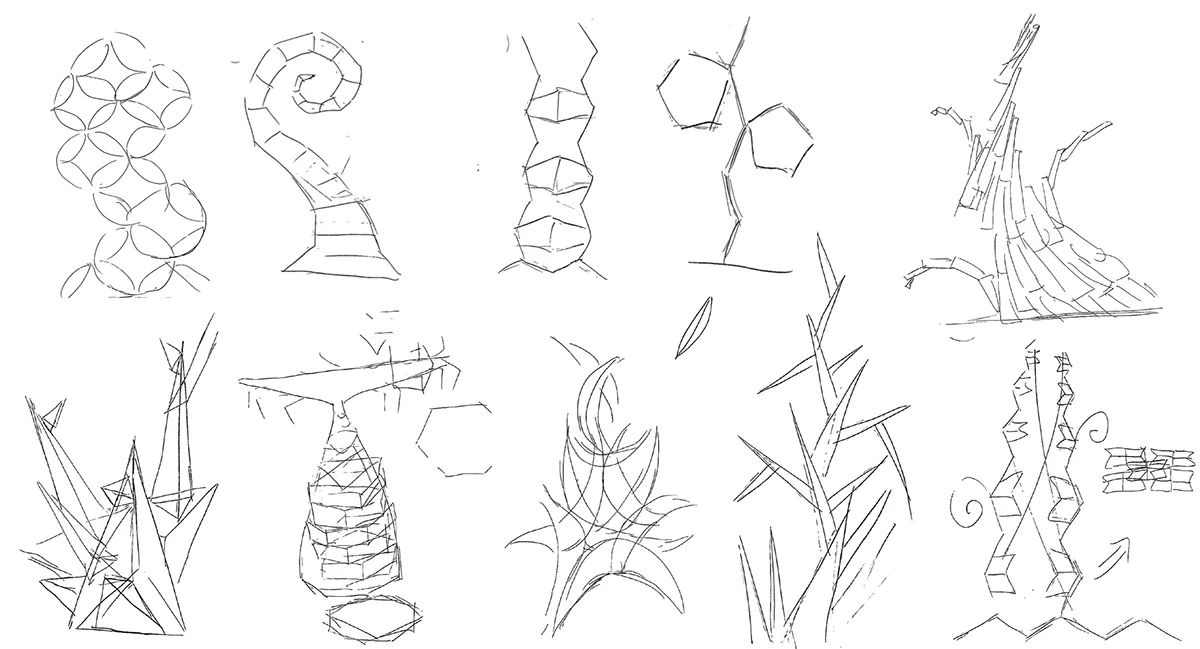
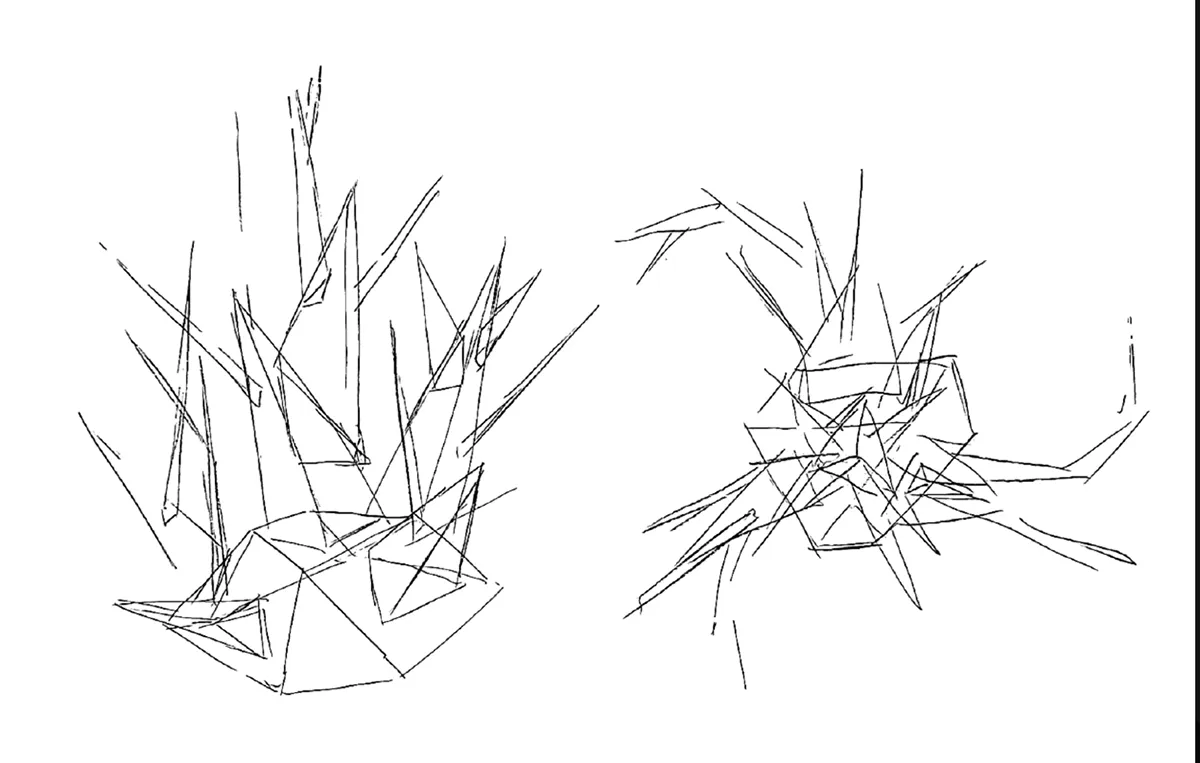
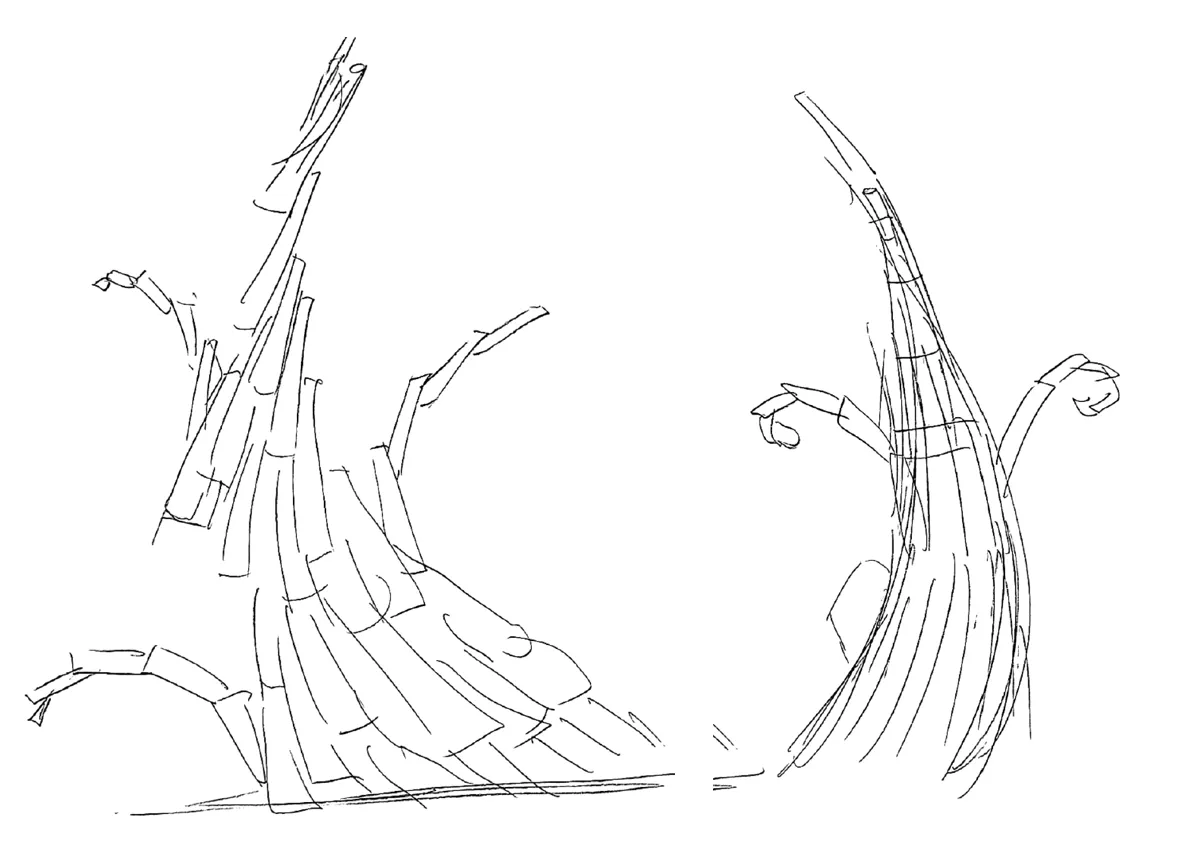
Step 3 — Sketch
Plan 1: Grow Bent Tower — Base Shape: Cylinder / Effect: Curved Tower
Plan 2: Grow Spiky Polyhedron — Base Shape: Triangle / Effect: Sharp Spikes
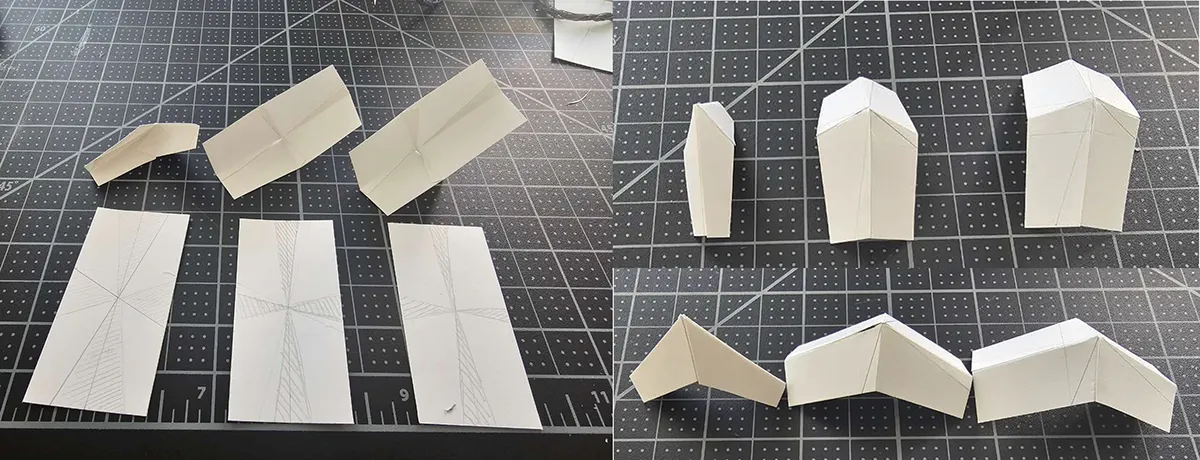
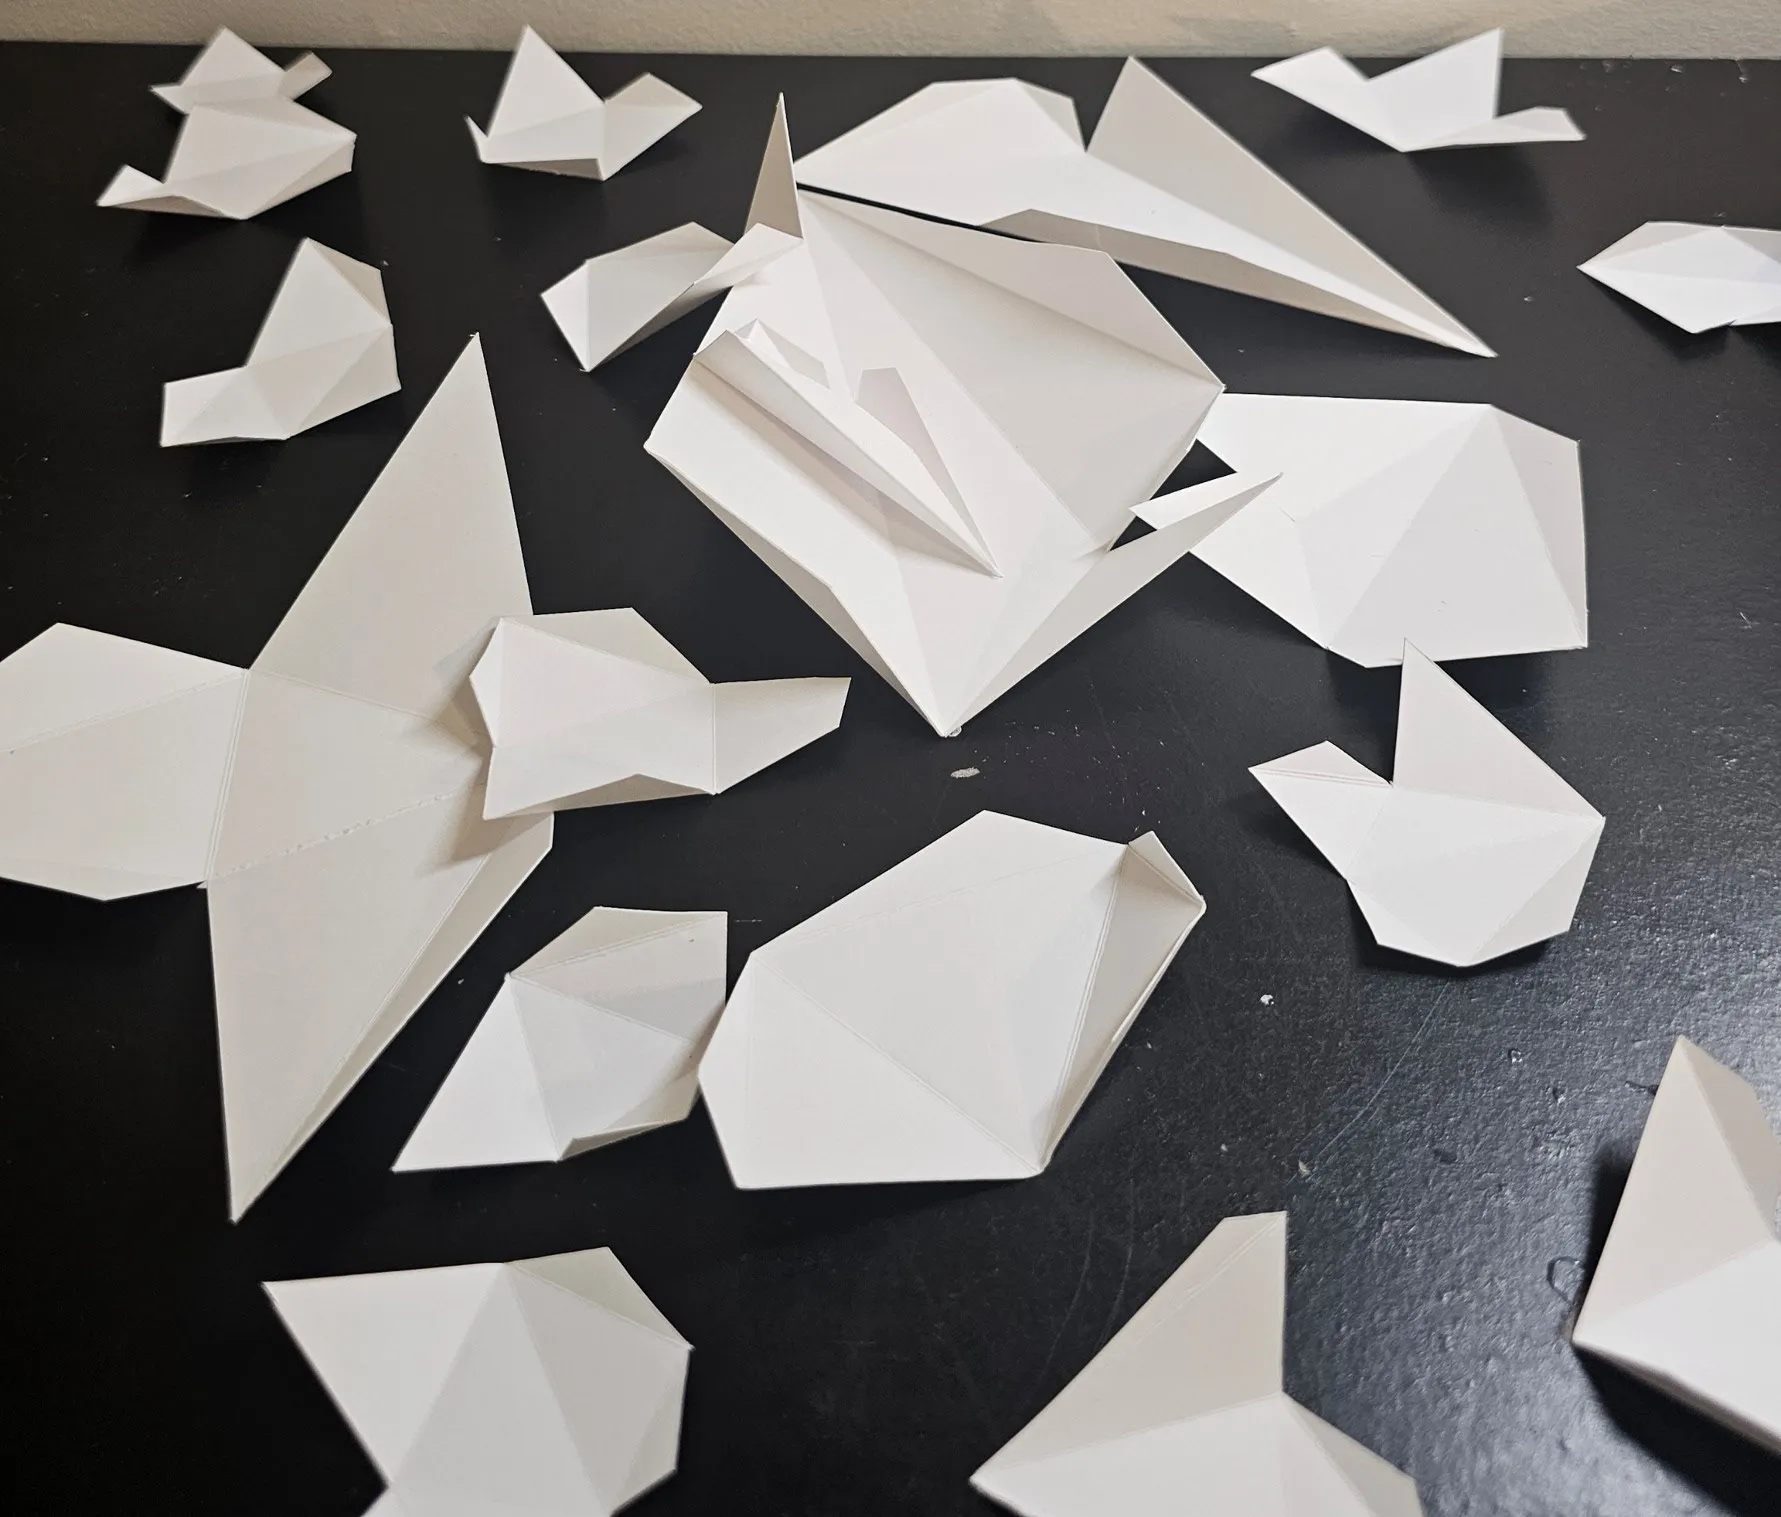
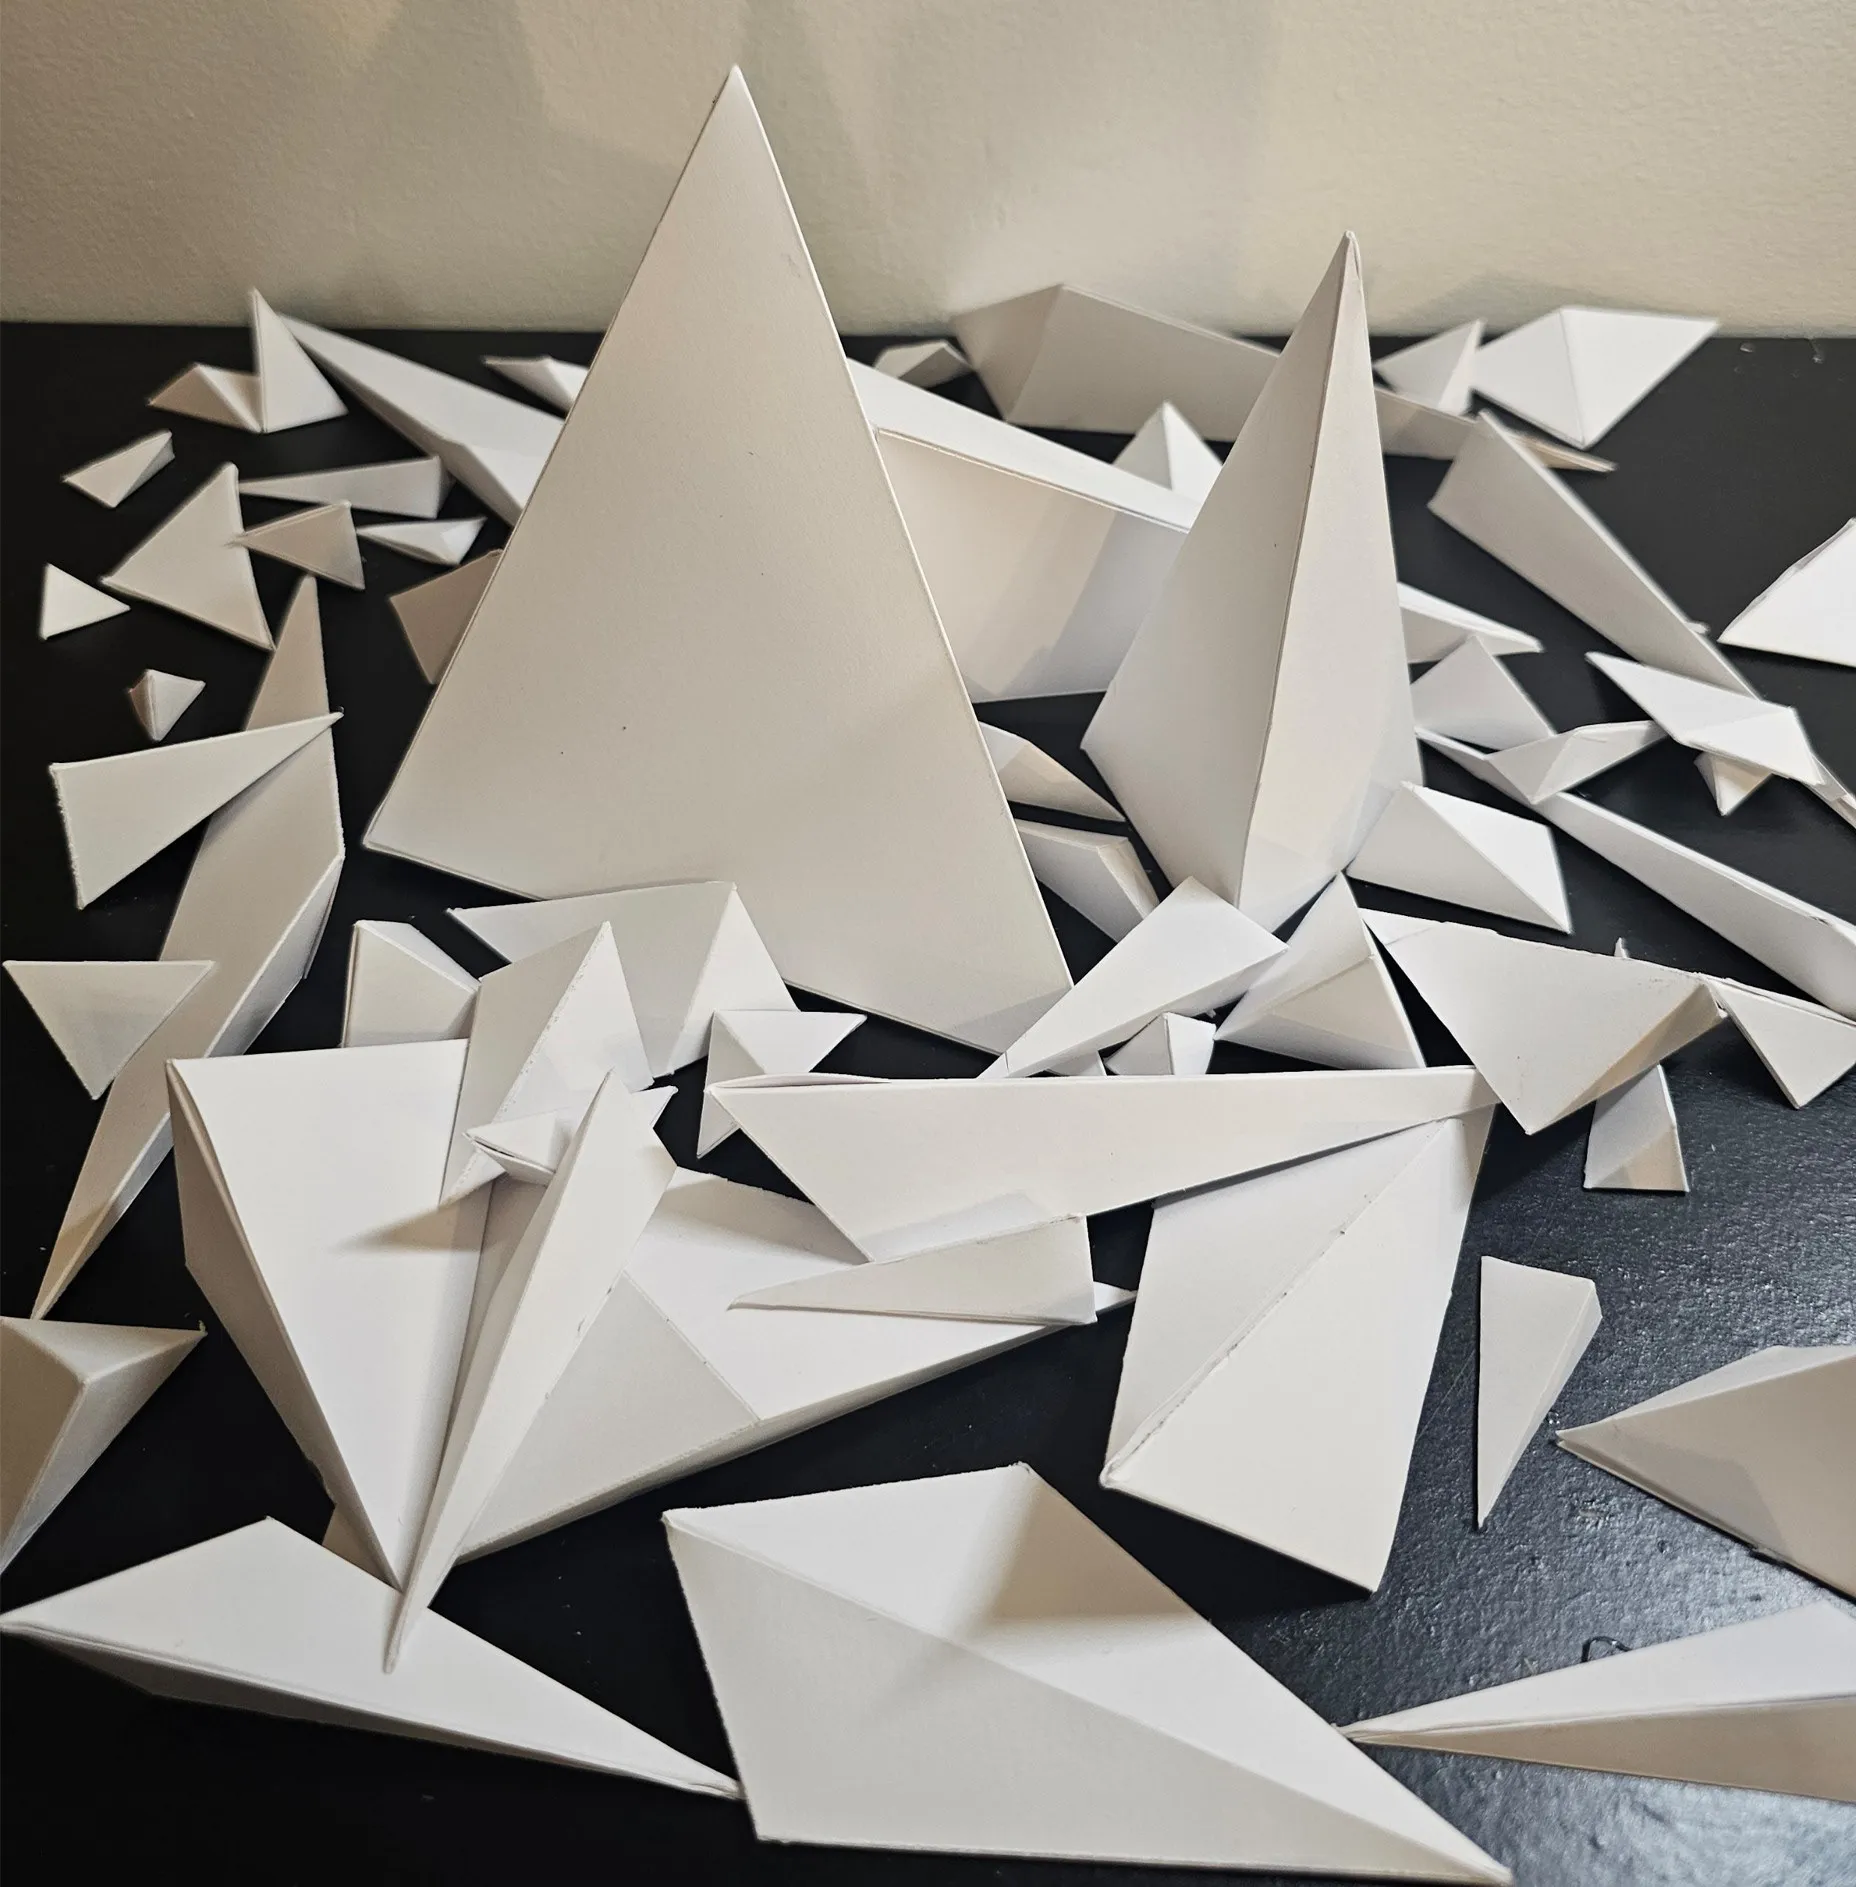
Step 4 — Mock-up
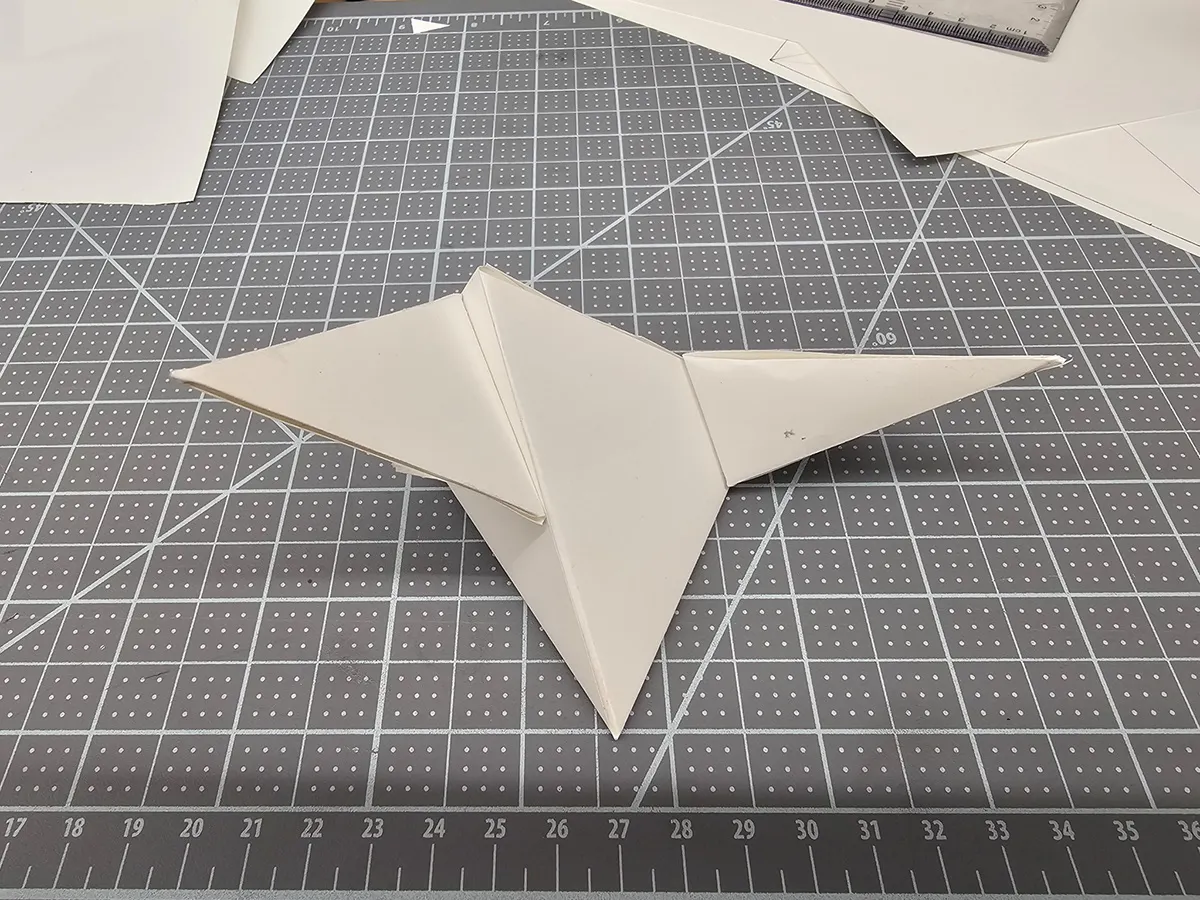
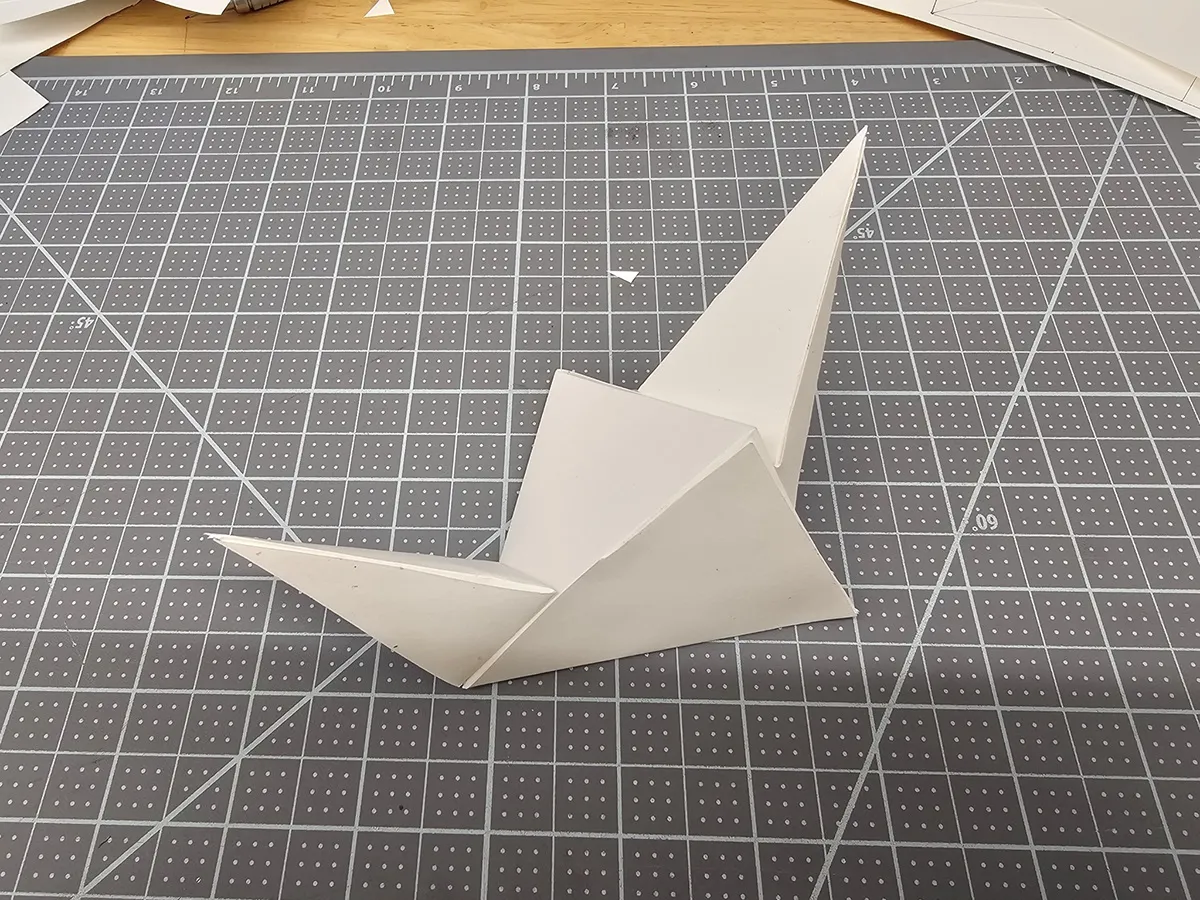
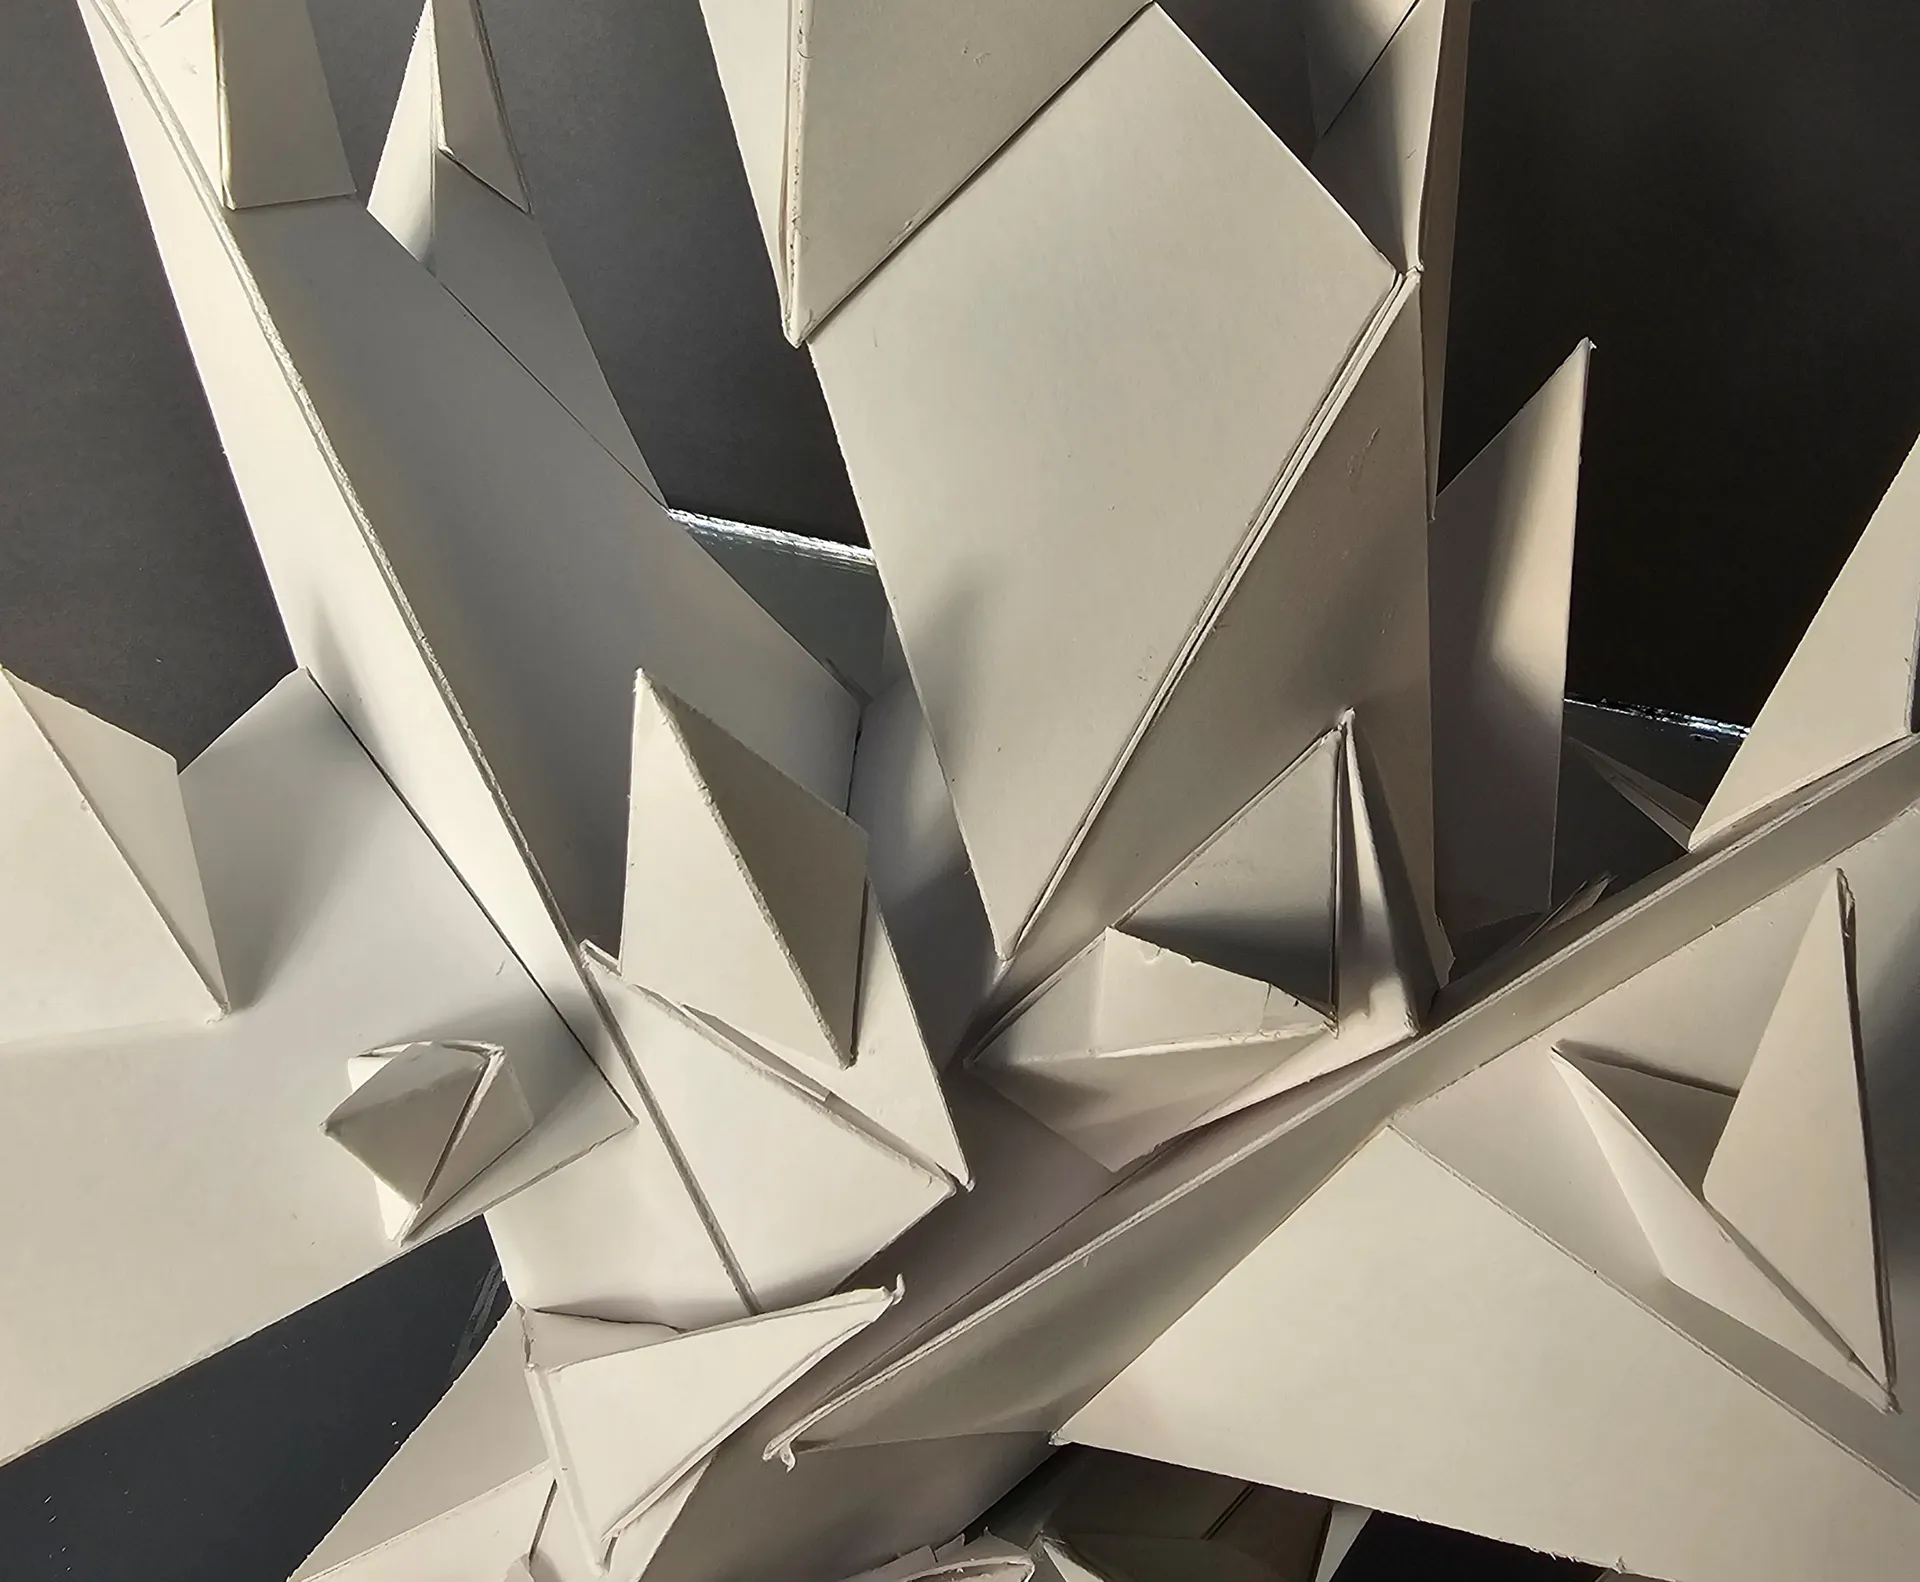
Step 5 — Process Photos
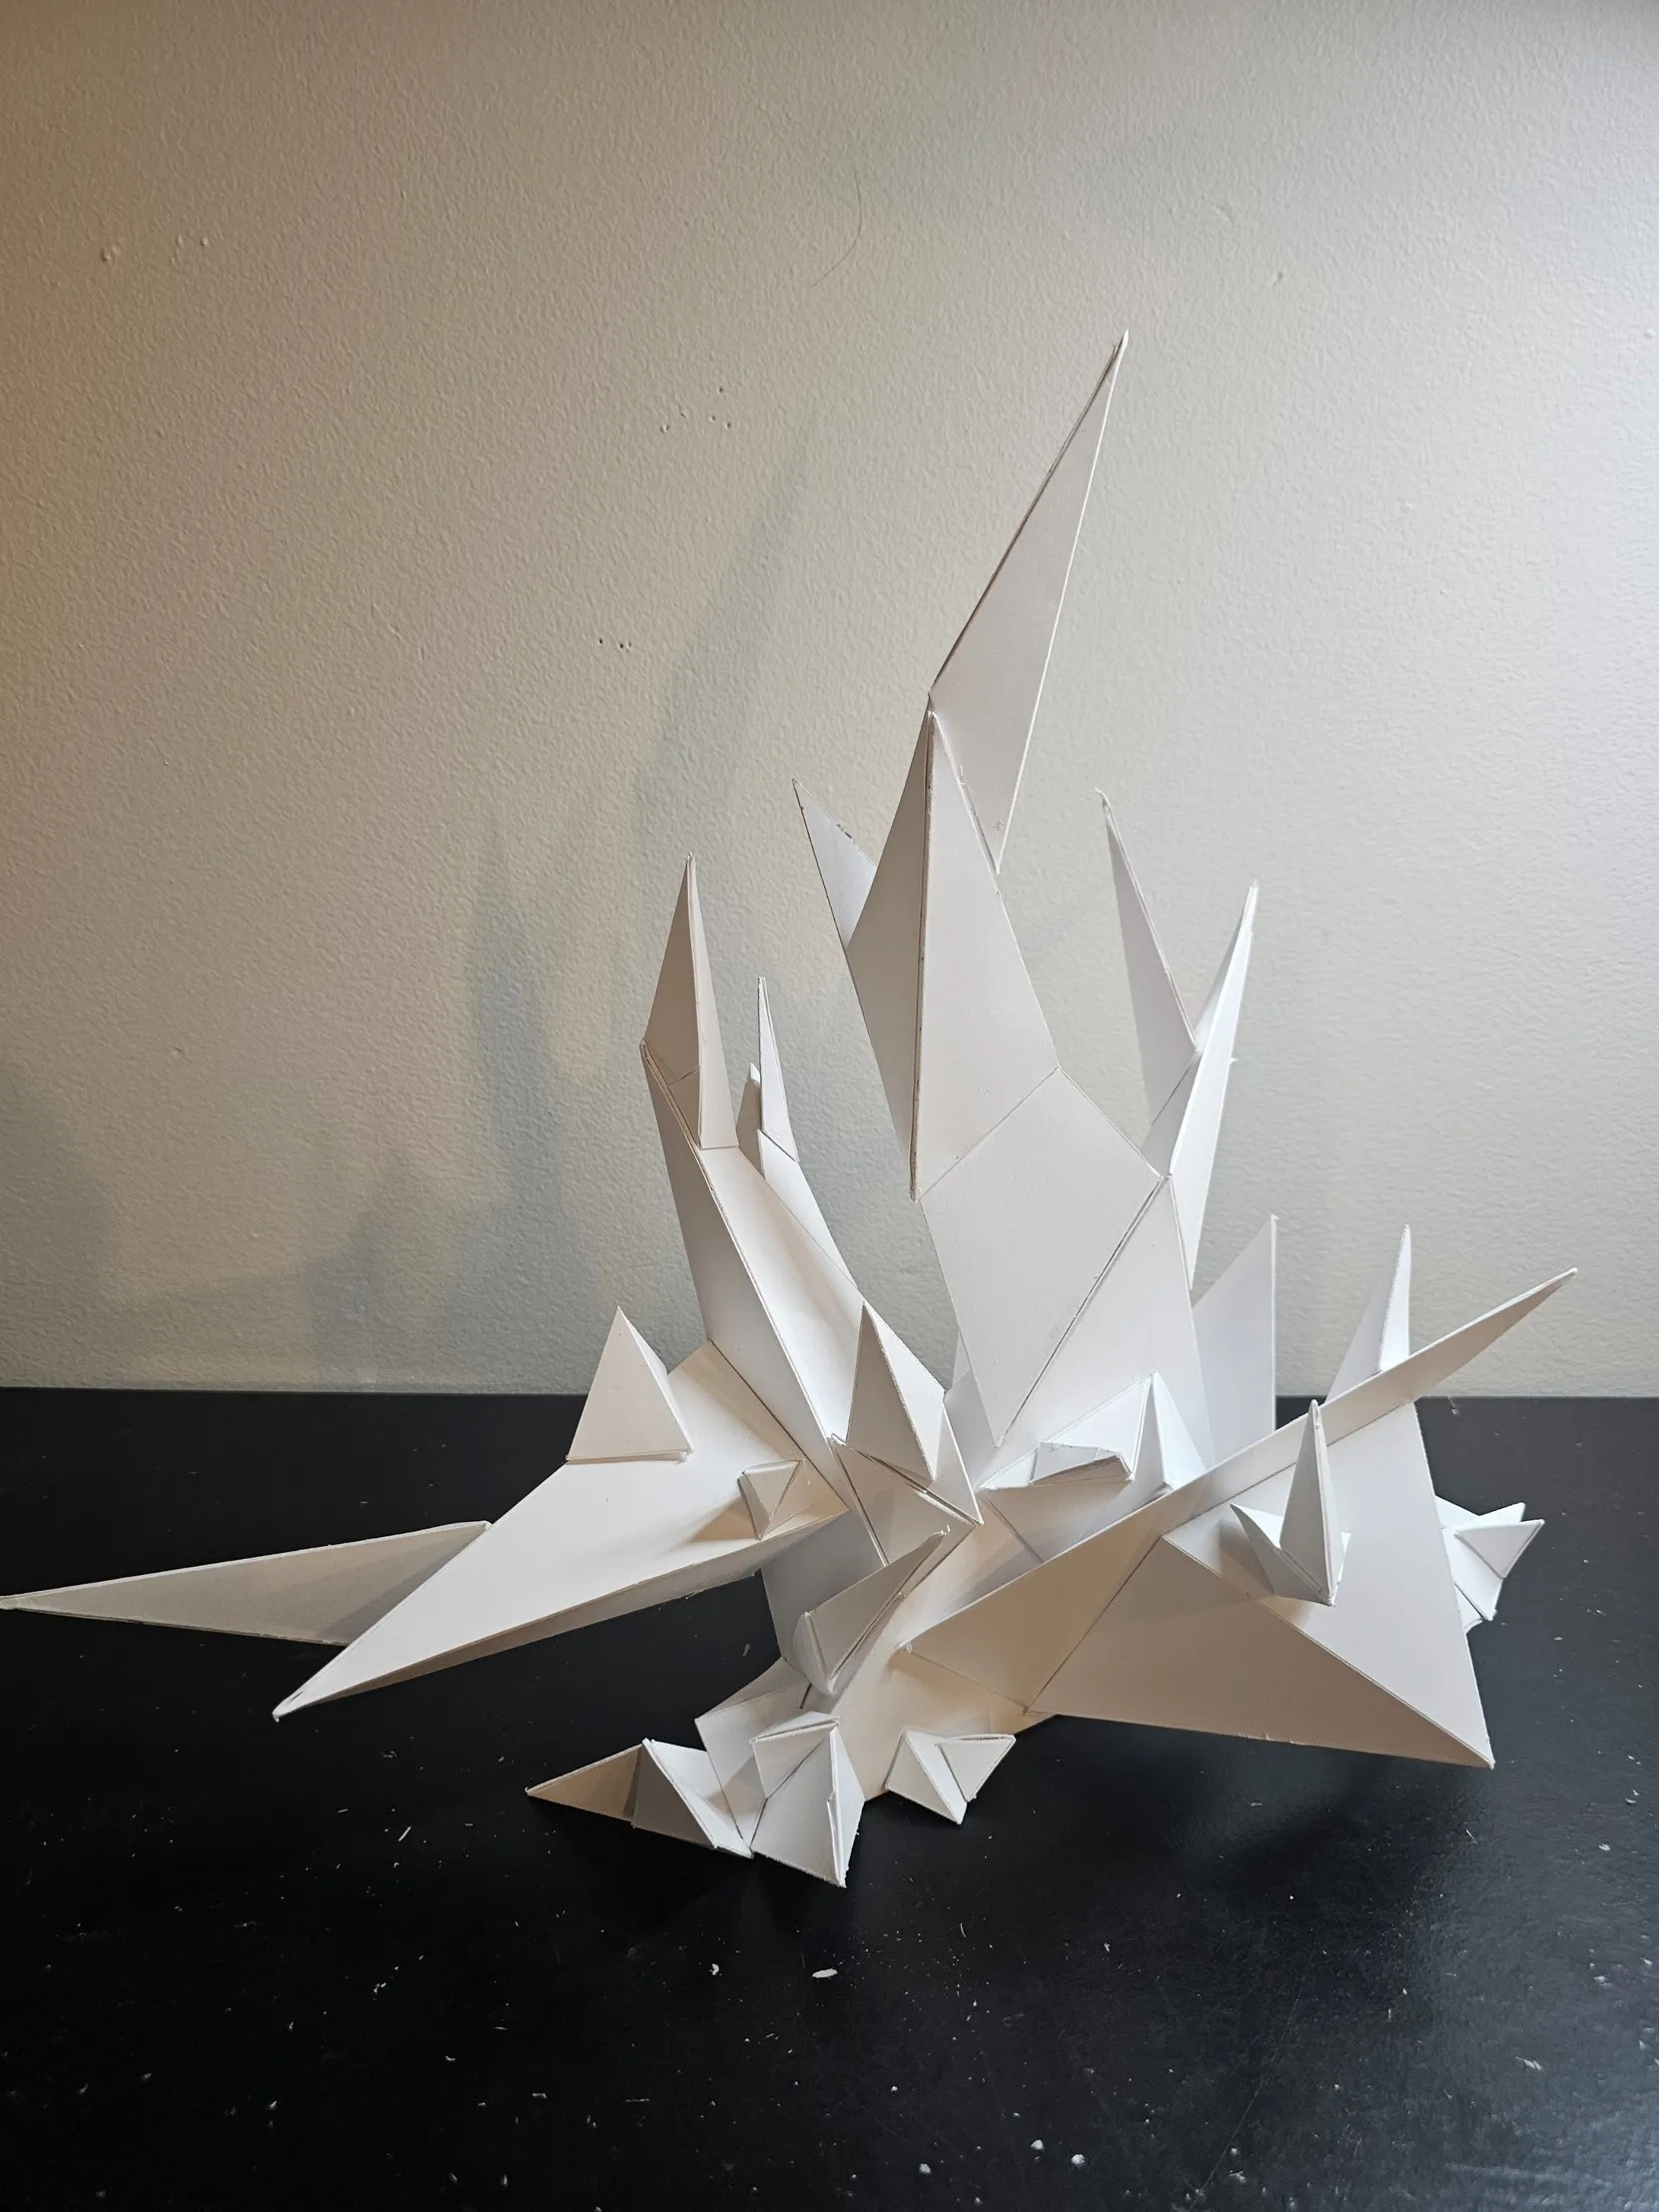

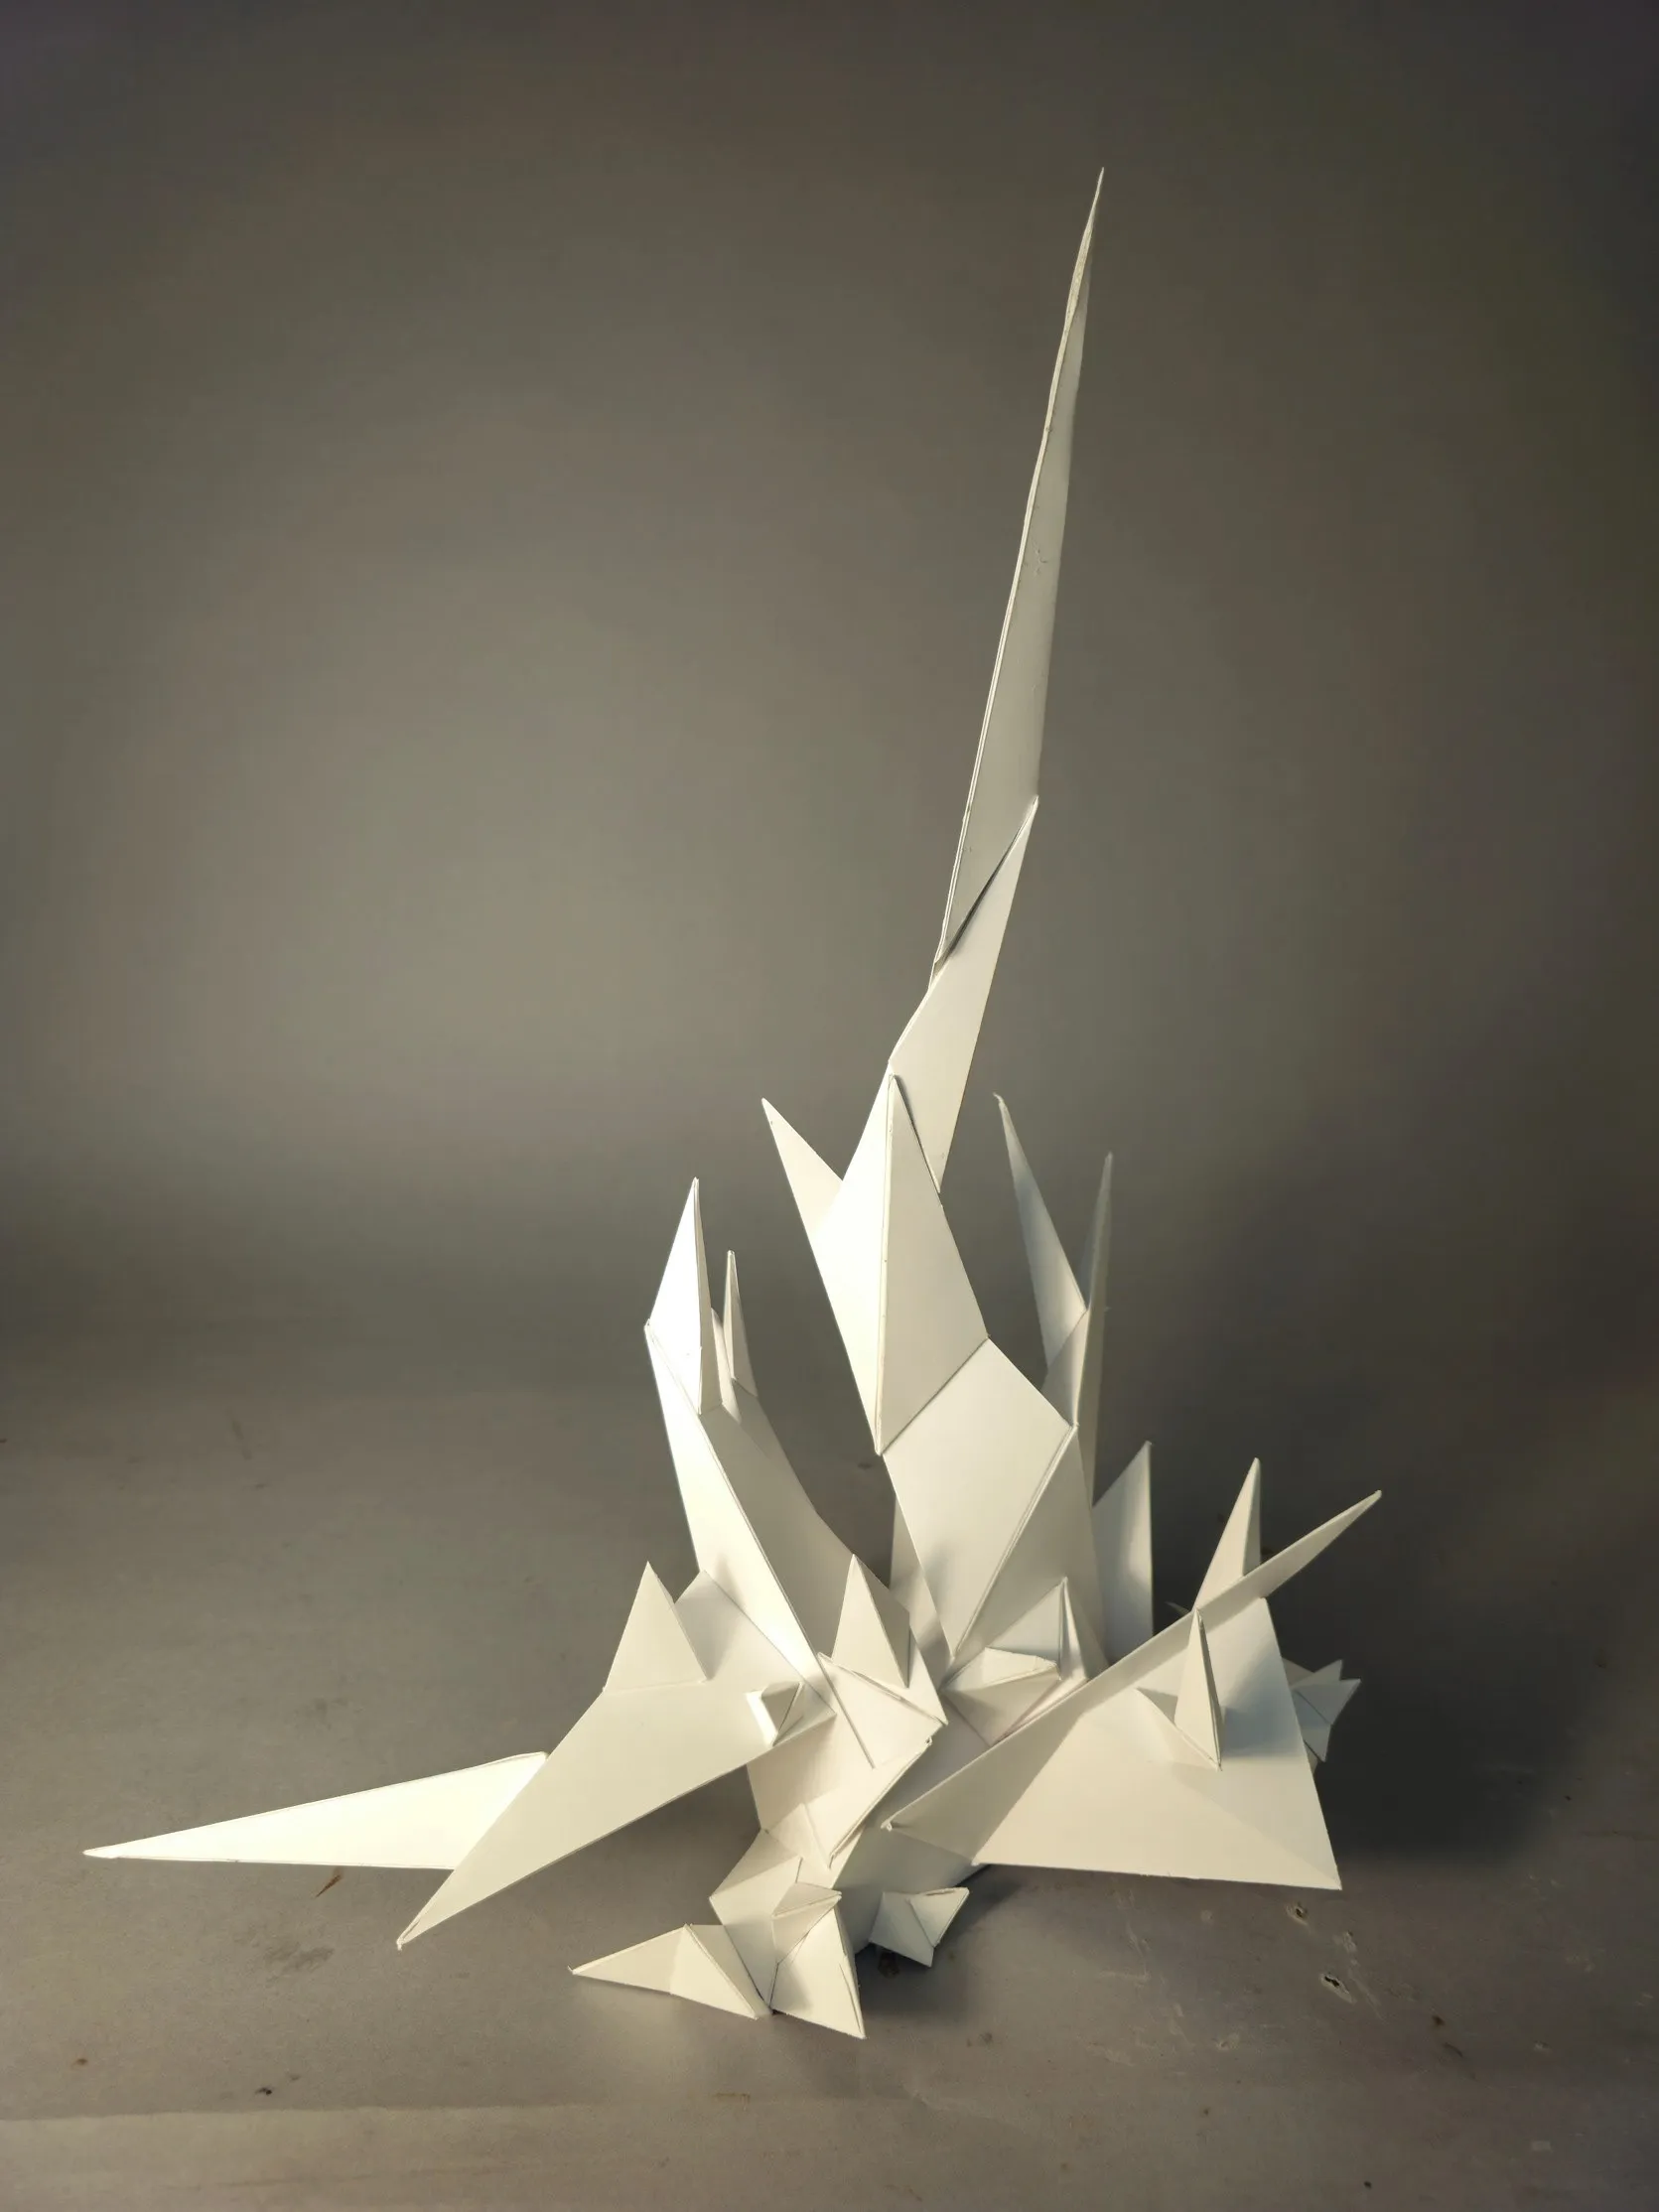
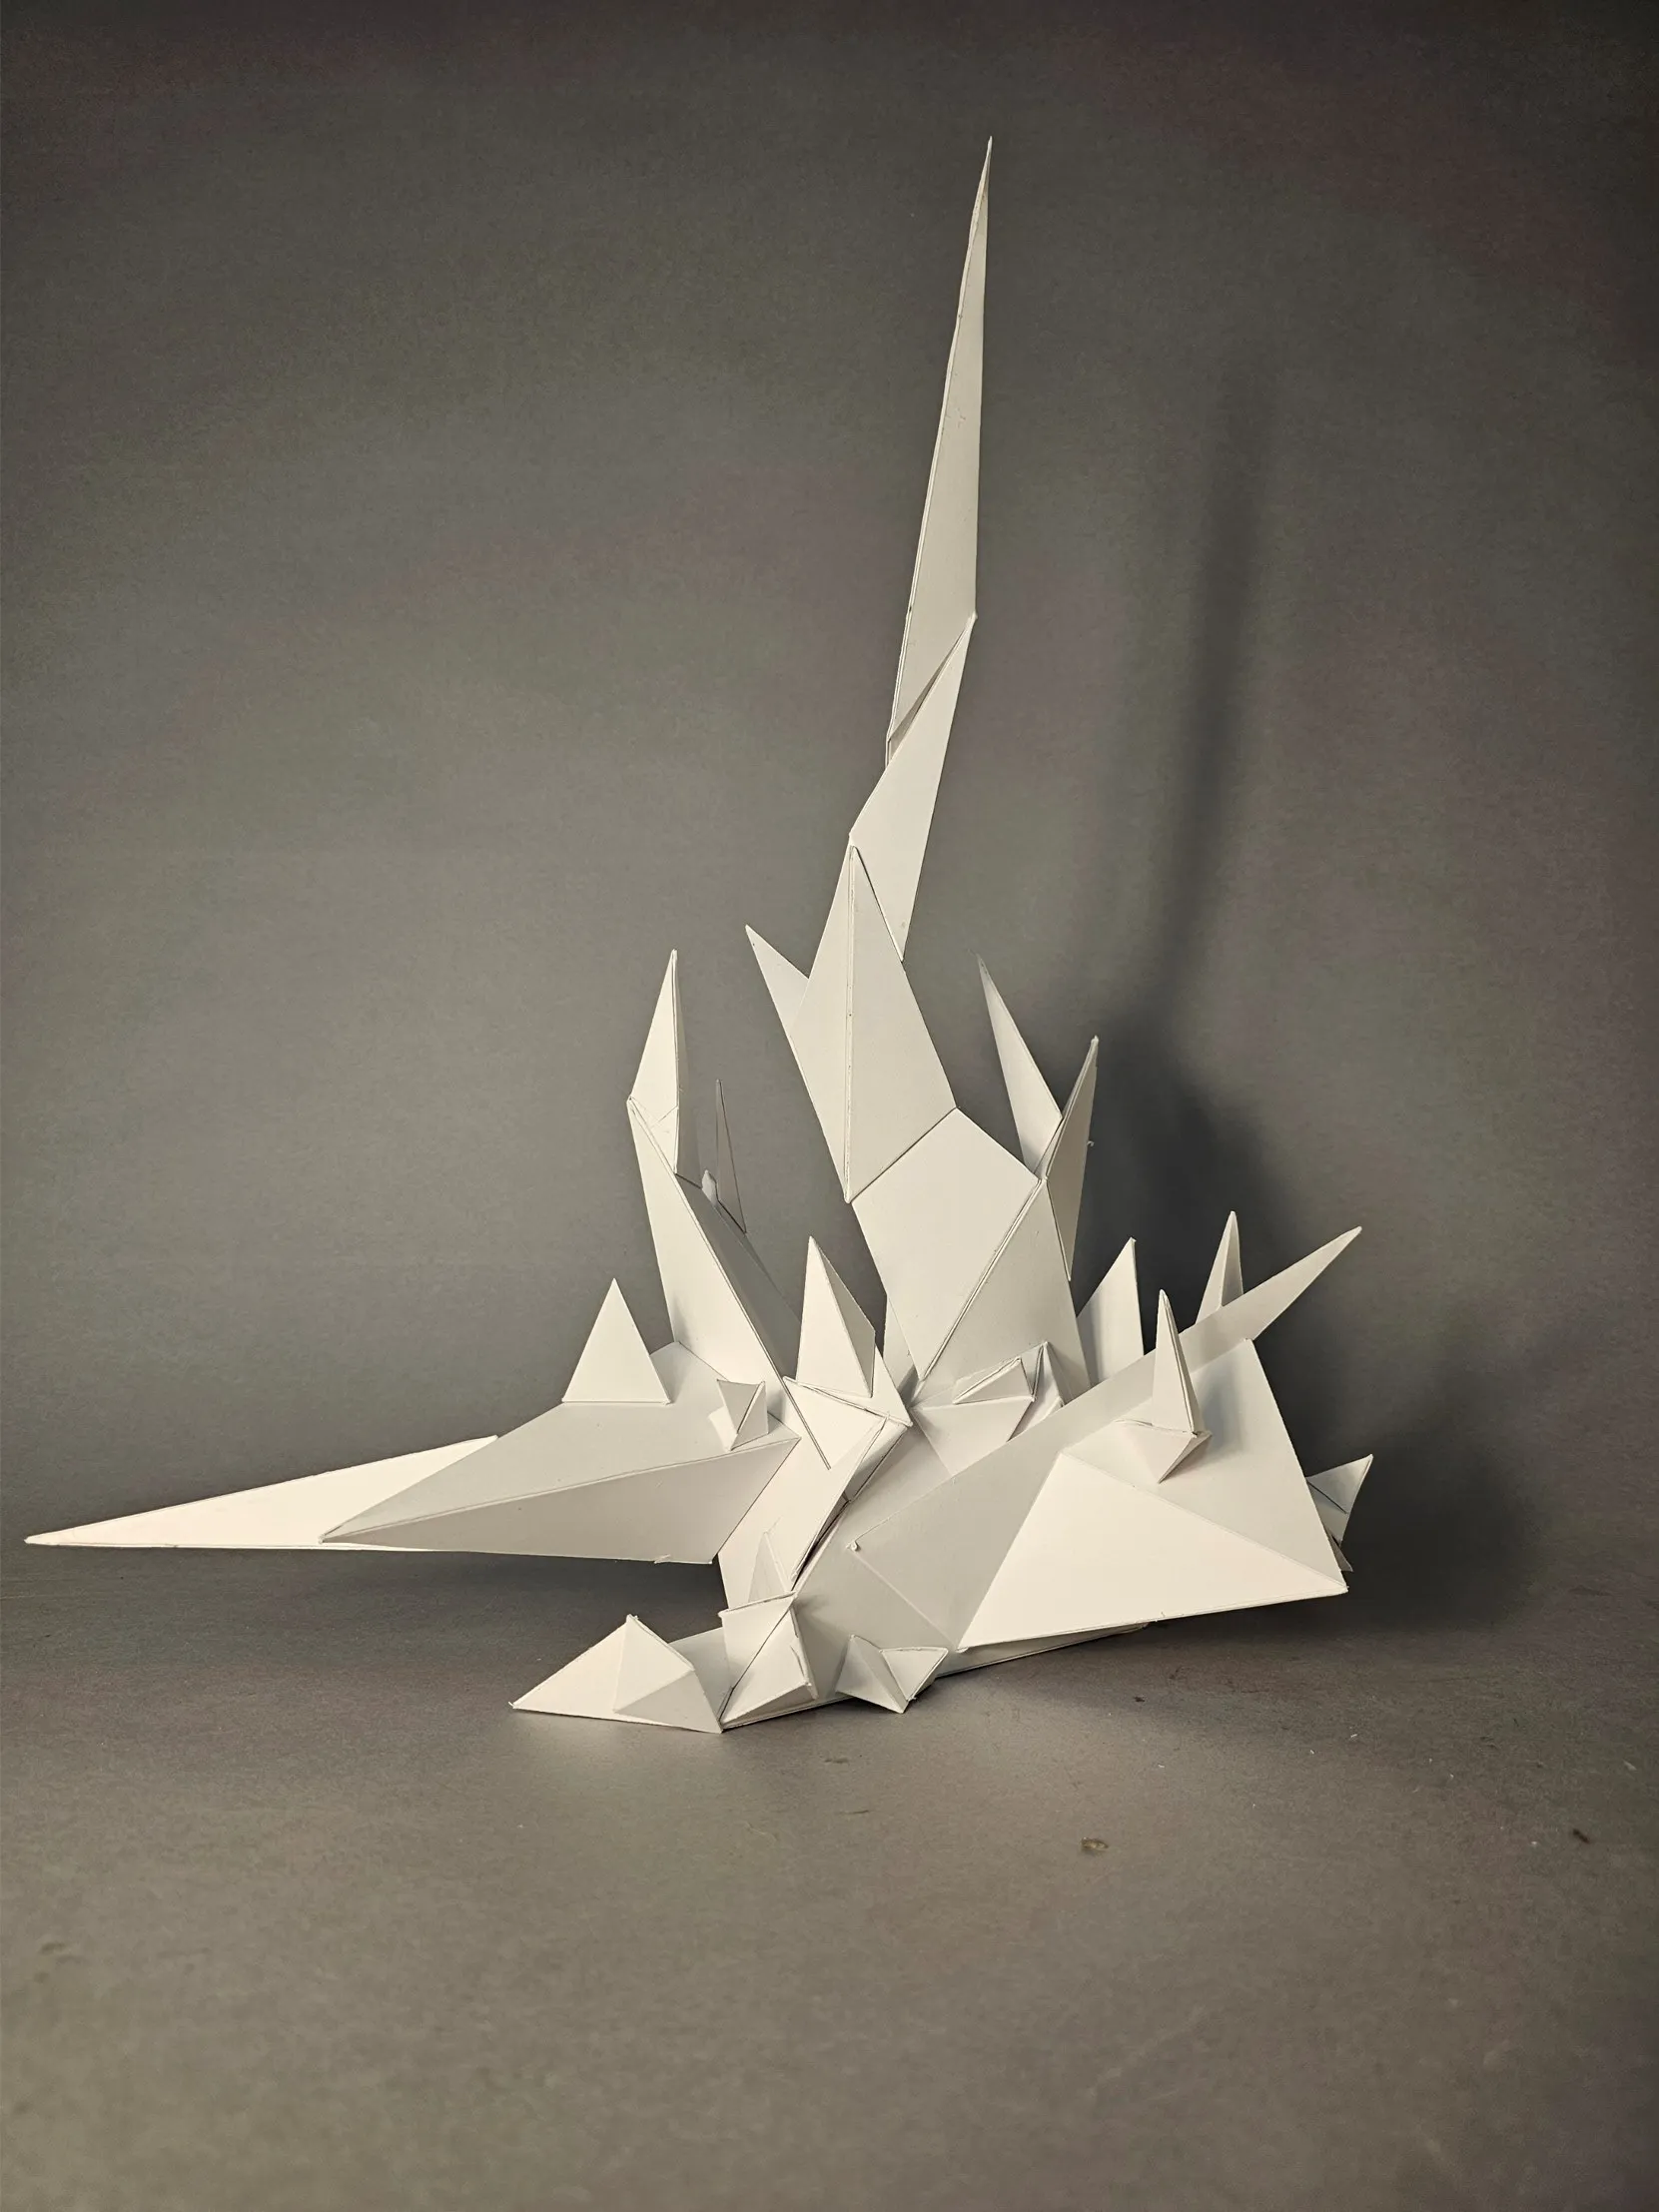
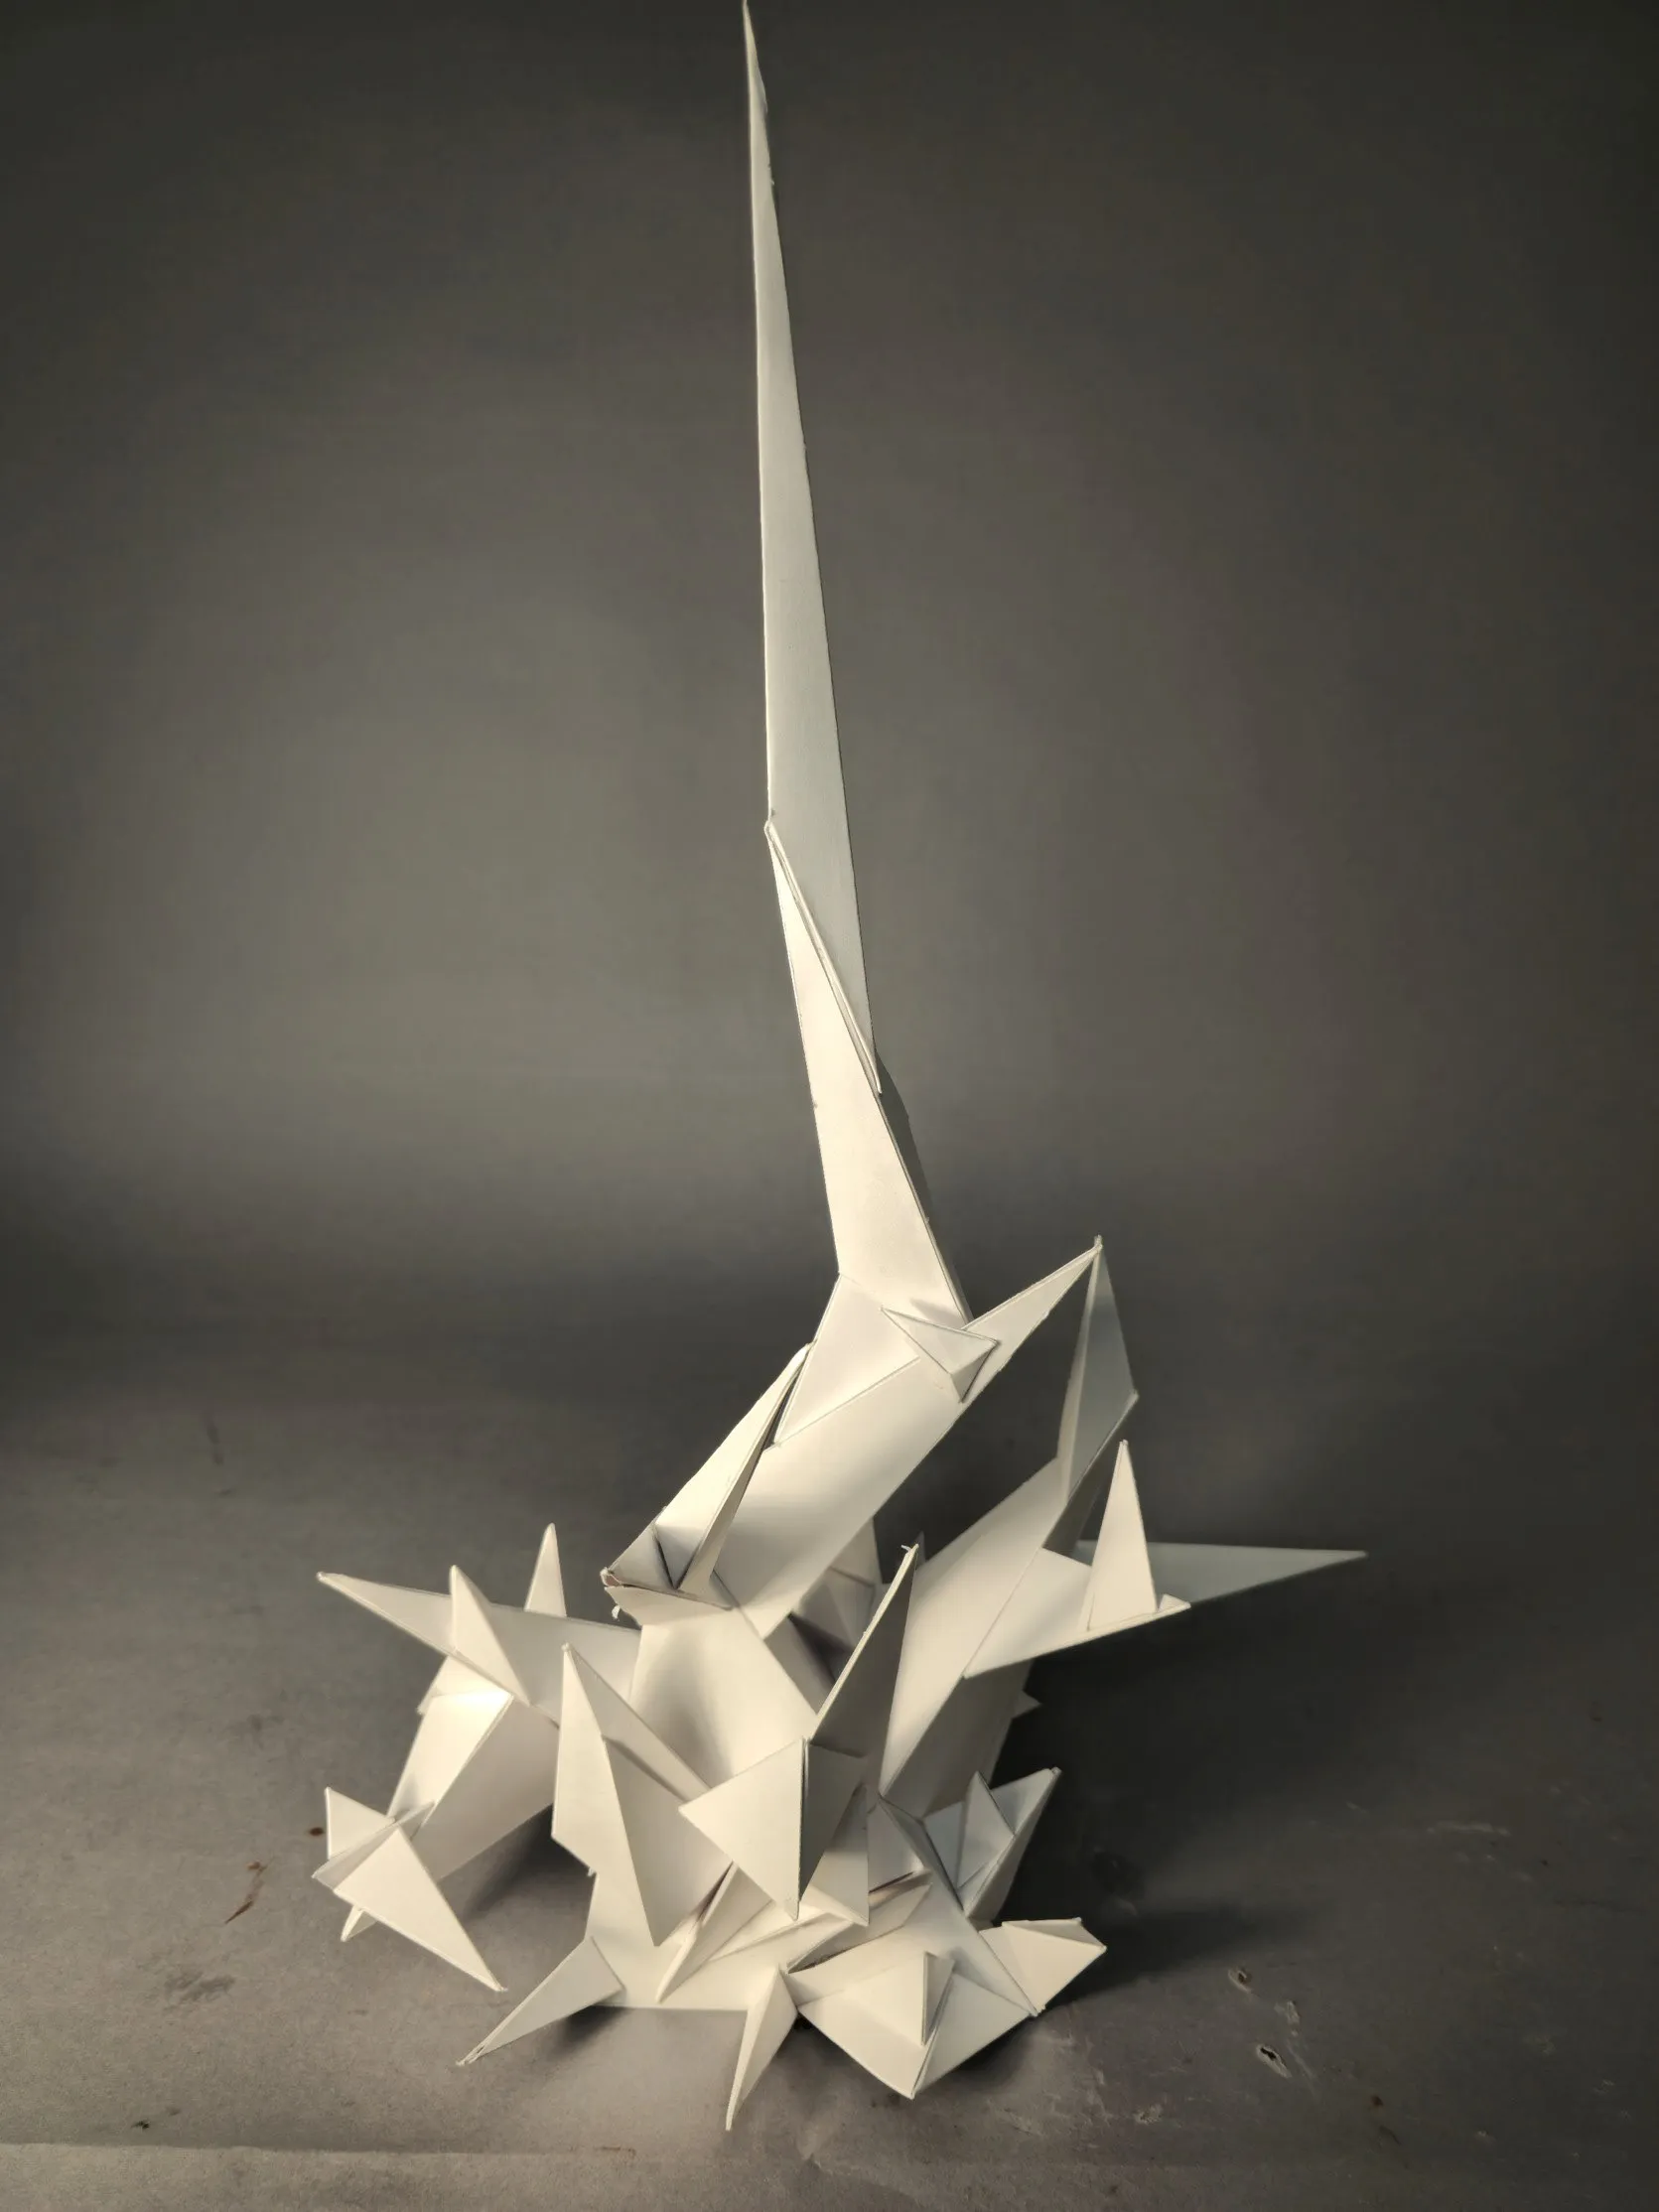
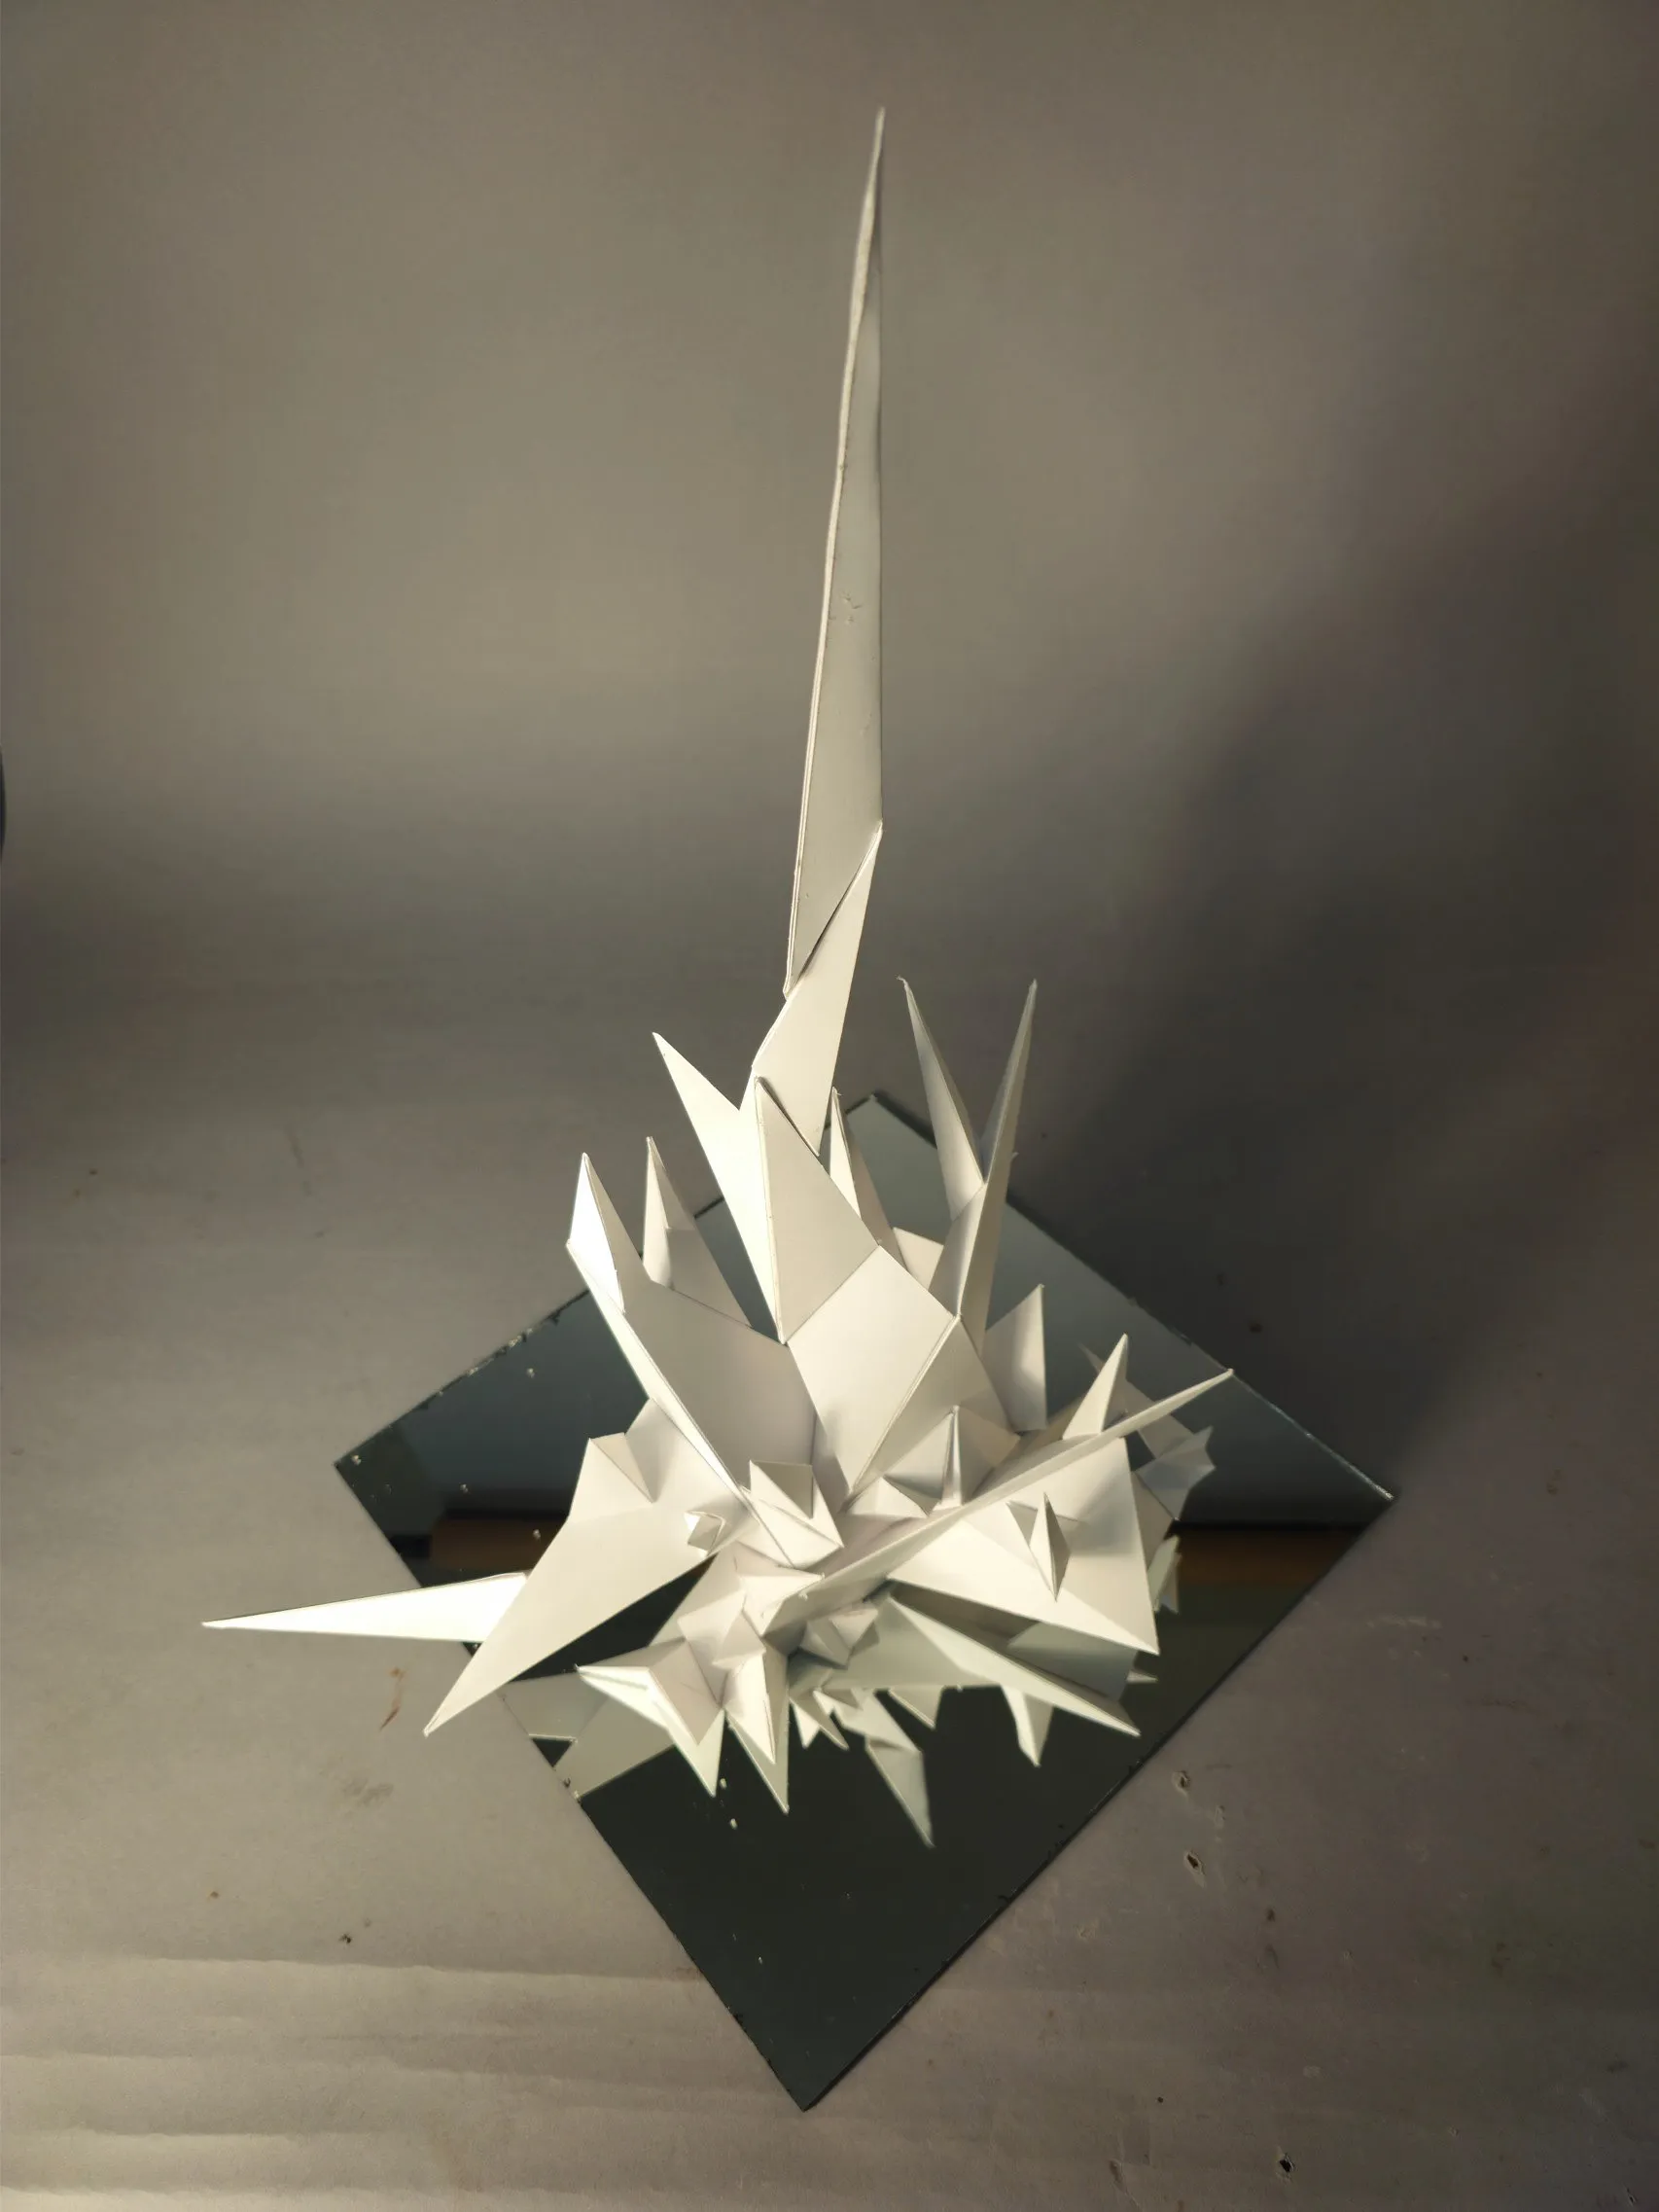
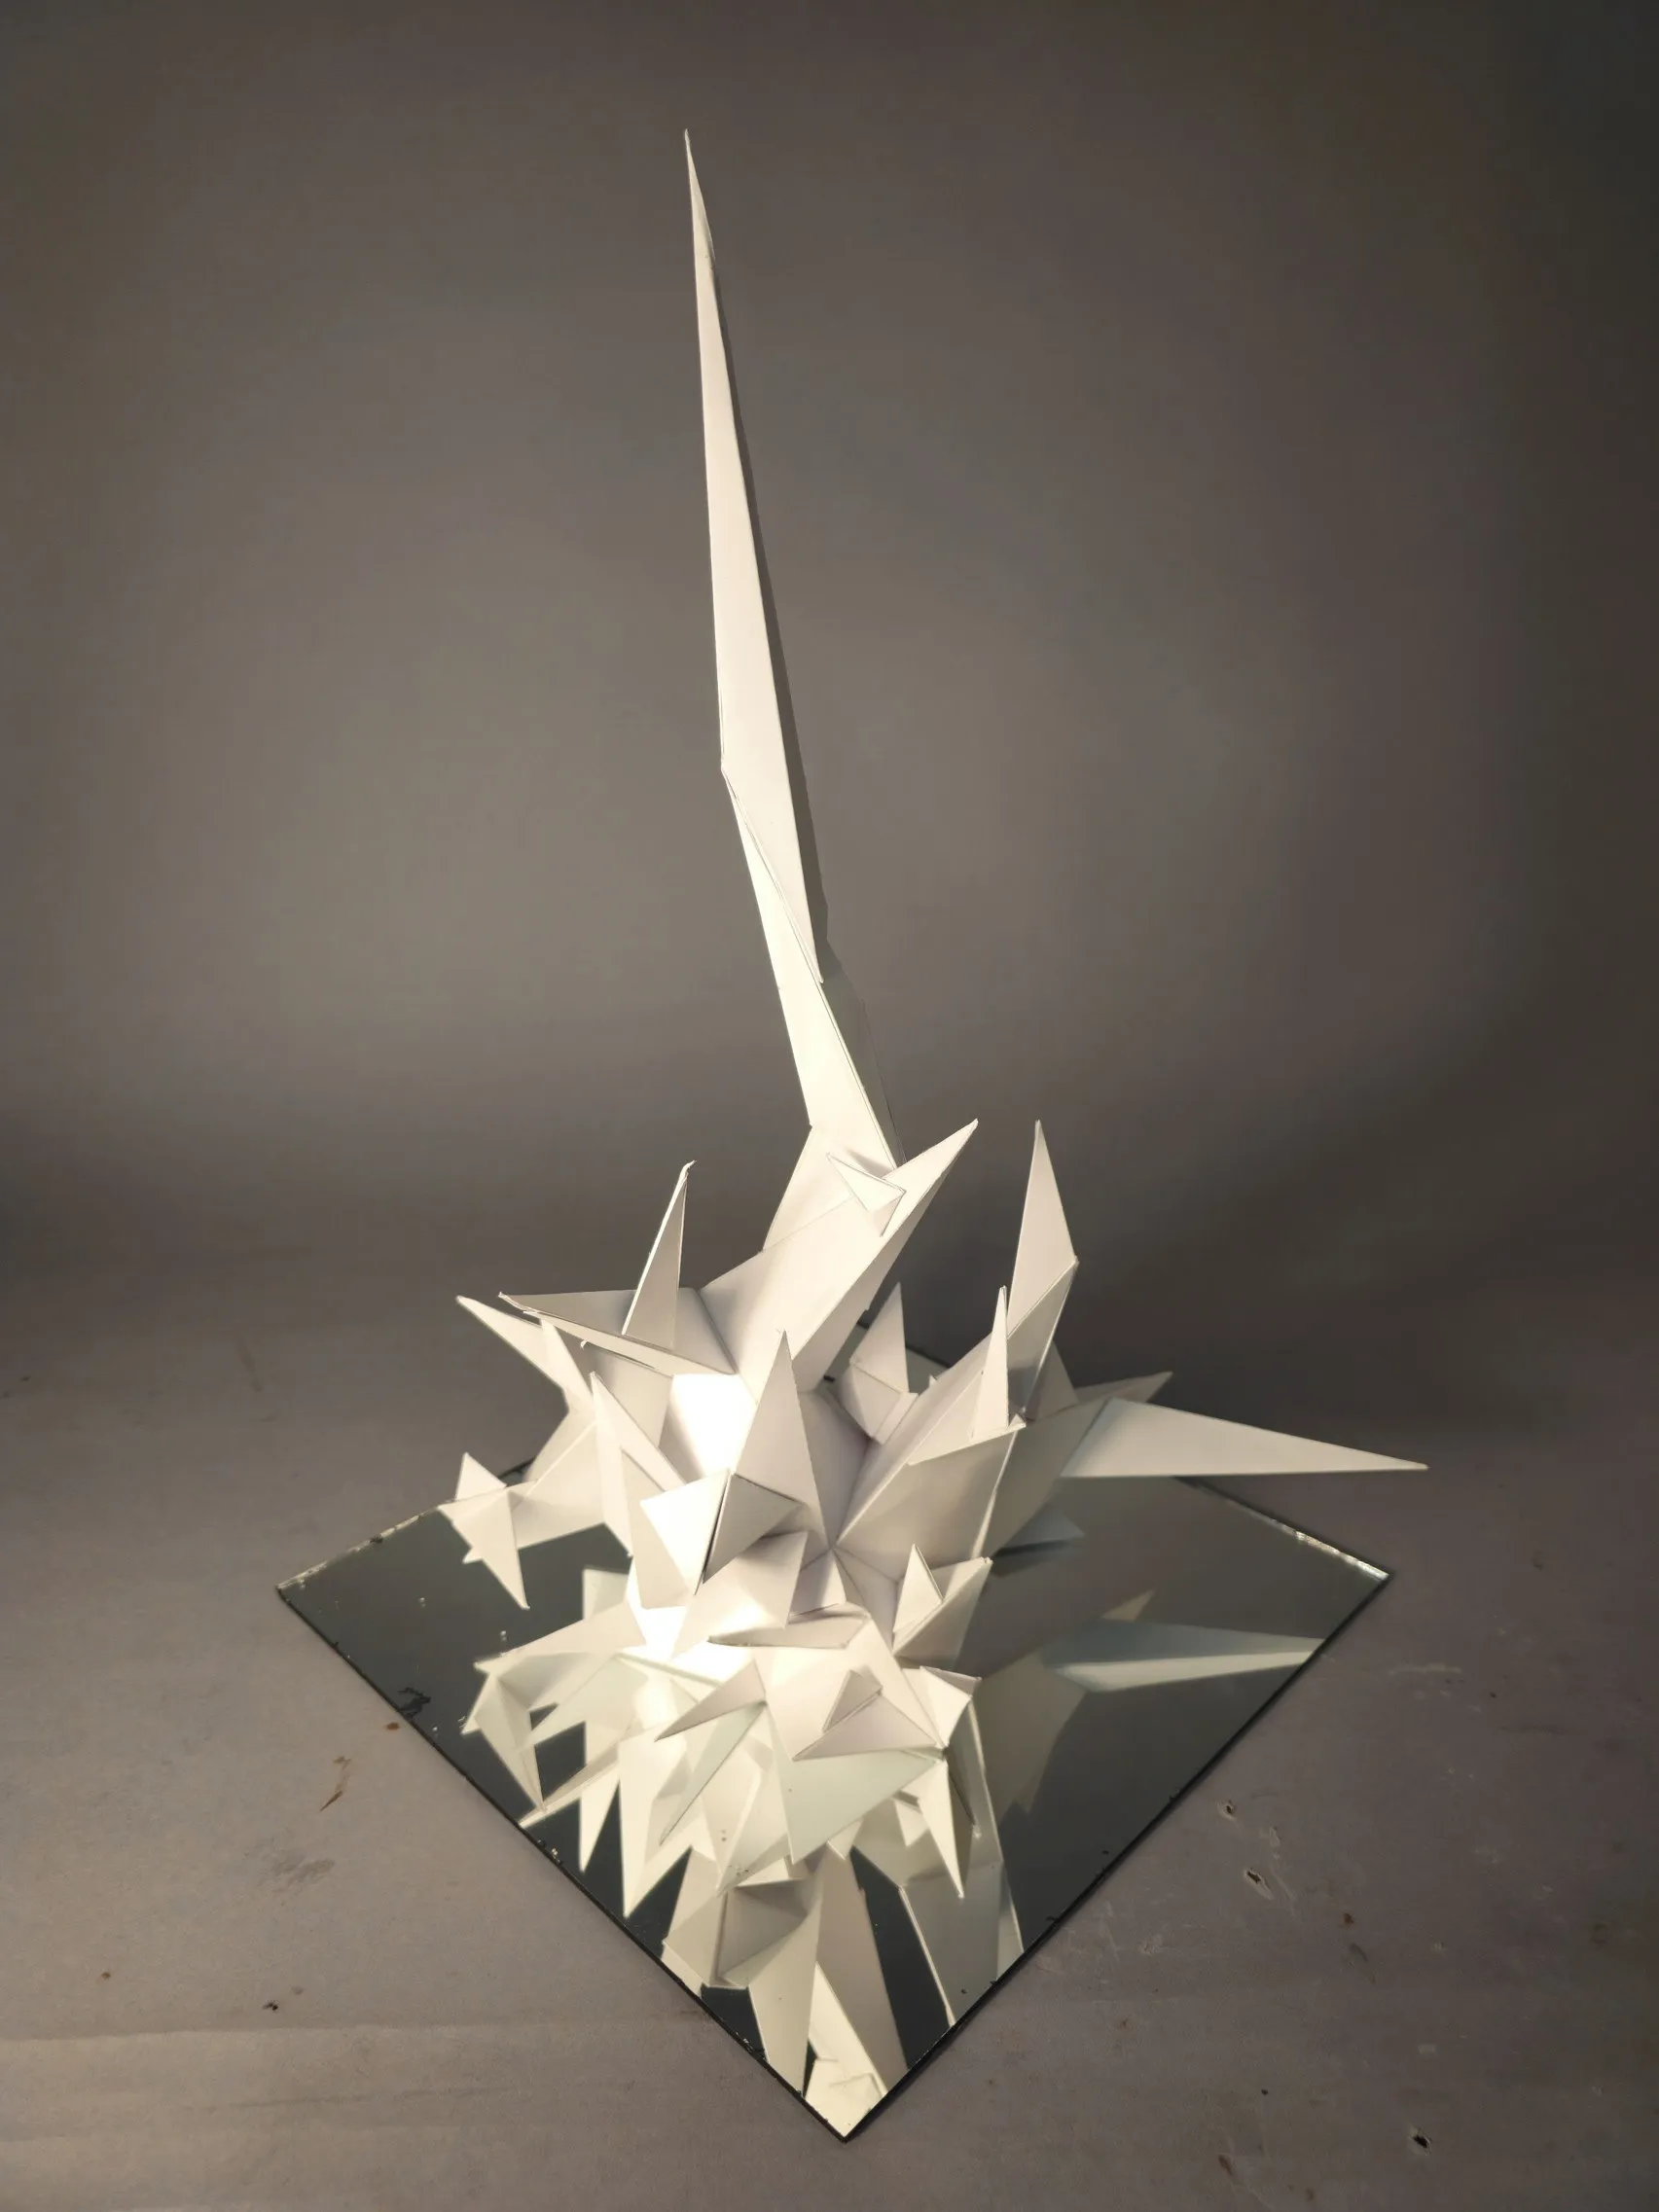
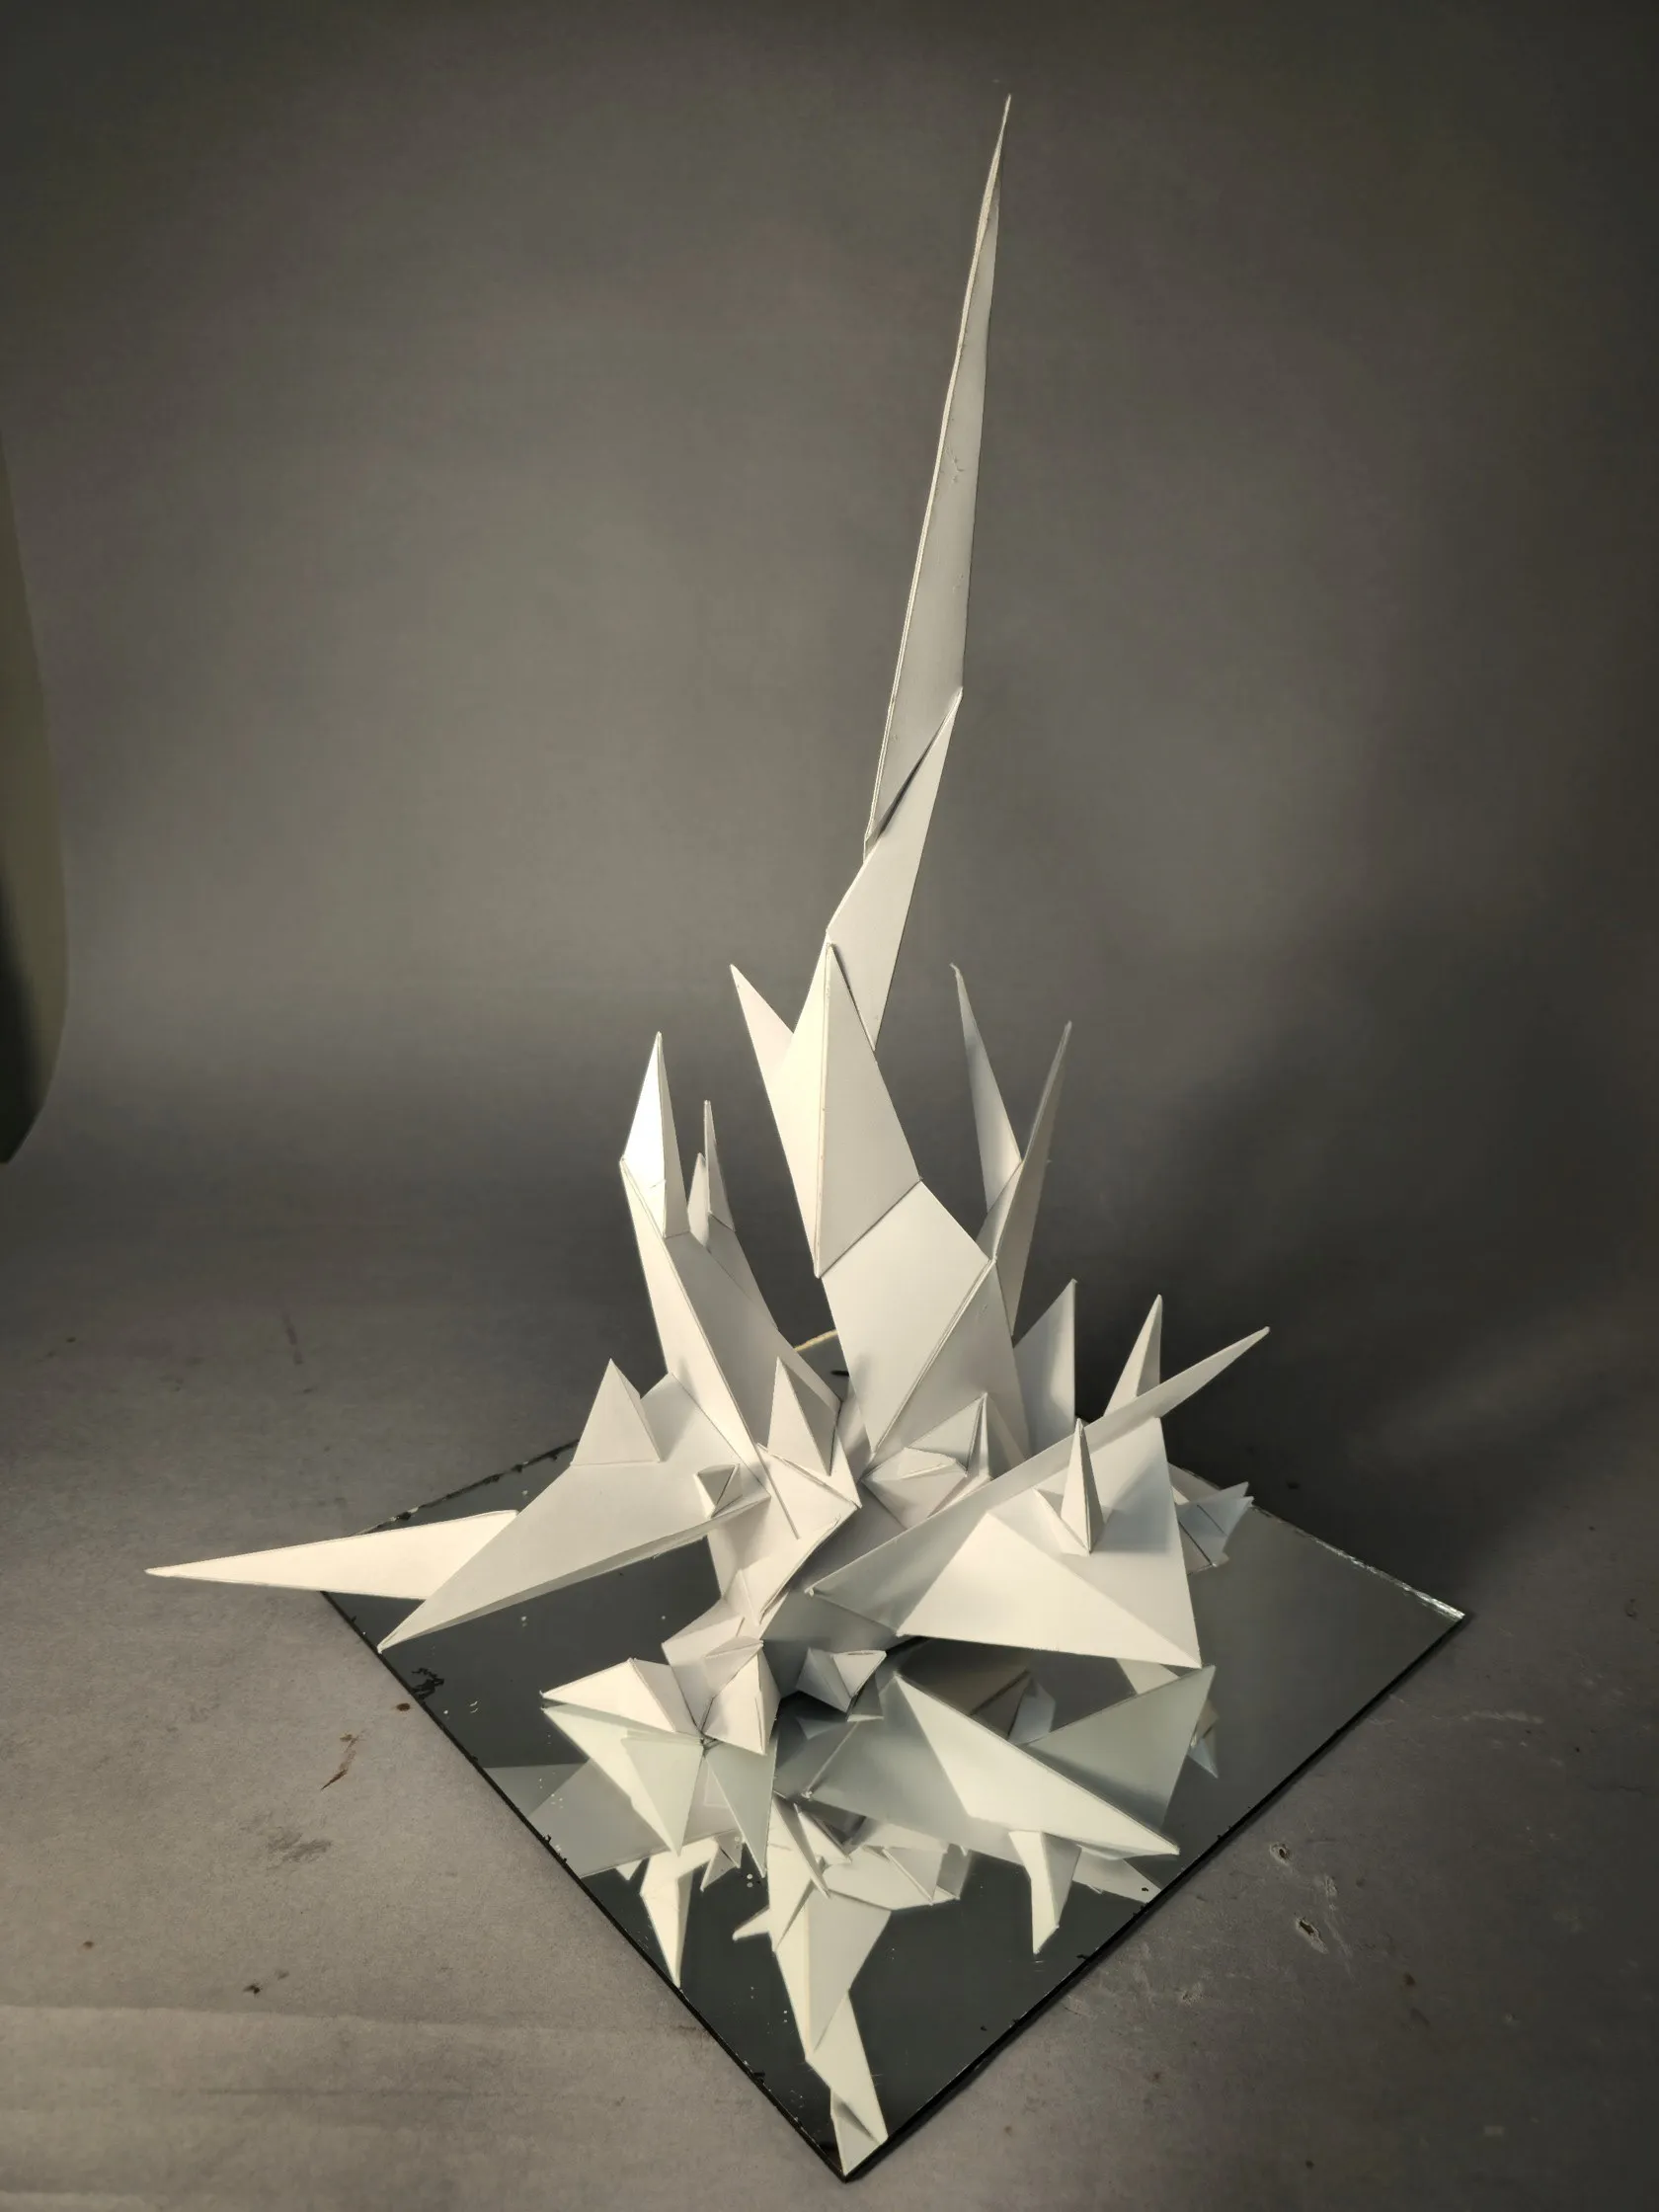
Step 6 — Final Model

Step 7 — Final Reflection
This project made me understand that designing a sculpture is not just about the front, but making it work from many angles. The whole project only uses triangular blocks to achieve strong unity, while adding many tiny triangles to create variety. These spikes are all arranged in a fixed direction, creating a flowing rhythm that guides the eyes upward. By putting a mirror at the bottom of the model, I used the reflection to make the space look bigger, which gives the sculpture more layers and creates a variety feeling.
My design idea comes from mathematical fractals — it starts with large blocks at the bottom and splits into smaller and smaller forms as it grows upward.
Step 9 — Stop Motion Animation: Reflection
1. Transformation and Growth
My stop-motion video shows a basic frame to a complex form, which effectively demonstrates the theme of "Growth." It captures the transition from nothingness to a complete, intricate object.
2. Design Principles in Time
I applied the principle of Movement by rotating the sculpture during the construction sequence. This rotation allowed me to build from all angles while adding a sense of dynamic energy to the video.